Table of Contents
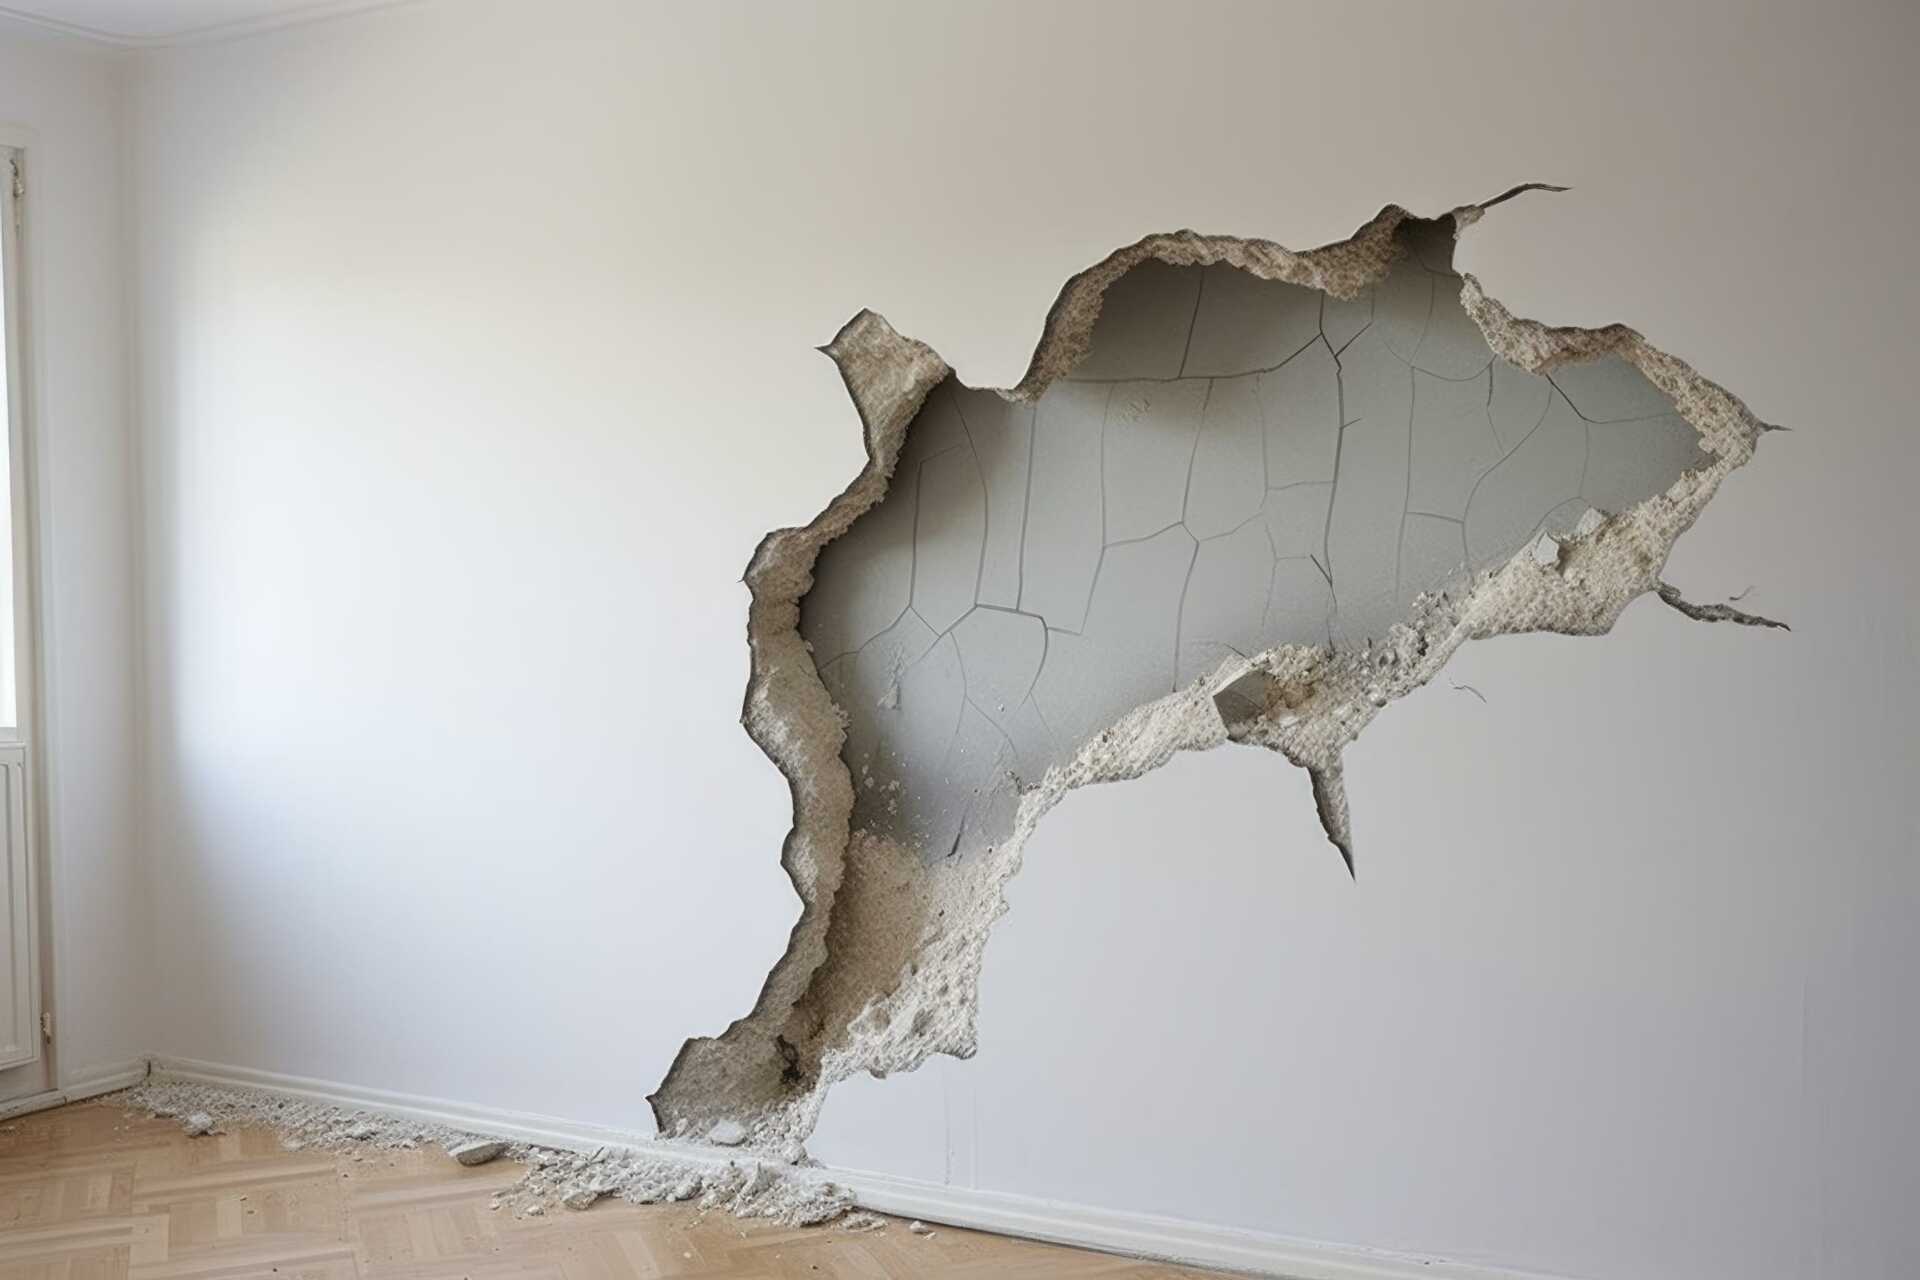
When it comes to maintaining the integrity of your home, did you know that drywall issues are among the most common household repairs? From small dings to larger holes, knowing the best techniques for fixing drywall can save you time and money. Whether you’re a seasoned DIYer or a beginner in home repairs, mastering these three top drywall repair methods can elevate the look of your living space. So, let’s explore the secrets behind patching holes, using self-adhesive mesh tape, and achieving a flawless finish for your walls.
Key Takeaways
- Patch holes with joint compound for a smooth finish.
- Use self-adhesive mesh tape for added strength.
- Sand before painting for a seamless blend.
- Apply spackling compound generously for a polished look.
- Clean thoroughly before painting for a professional result.
Patching Holes With Joint Compound
To effectively patch holes with joint compound, begin by preparing the damaged area through thorough cleaning and ensuring it’s free of any loose debris or old compound remnants. Use a putty knife to remove any loose material around the hole. Next, gently sand the edges of the hole to create a smooth surface for the joint compound to adhere to. This step is important for a smooth repair.
Once the area is clean and smooth, it’s time to apply the joint compound. Using a putty knife, spread a thin layer of joint compound over the hole, making sure to blend the edges with the surrounding wall. Allow the compound to dry completely according to the manufacturer’s instructions.
After the joint compound has dried, it’s time to sand the area again. Use fine-grit sandpaper to smooth out any bumps or ridges left by the compound. Remember to blend the edges to create a polished connection between the patch and the wall.
Applying Self-Adhesive Mesh Tape
For a sturdy and lasting repair, the next step involves applying self-adhesive mesh tape to reinforce the patched area efficiently. Mesh tape application is important for providing extra support and preventing future cracks or damage.
Here are some essential tools and steps for effectively applying self-adhesive mesh tape:
Mesh Tape Selection: Choose high-quality self-adhesive mesh tape that’s durable and easy to work with. This ensures a strong foundation for your repair job.
Preparation is Key: Before applying the mesh tape, make sure the patched area is clean and free of dust or debris. This helps the tape adhere better and creates a smooth finish.
Smooth Application: Carefully place the mesh tape over the patched area, ensuring it covers the joint or cracks completely. Use a drywall knife to press the tape firmly into place for a secure bond.
Corner Repair: When repairing corners, fold the mesh tape to form a crease along the corner edge. This technique creates a polished result and reinforces the vulnerable corner area effectively.
Texturing and Blending for Seamless Finish
Prepare to achieve a flawless finish by mastering texturing techniques that smoothly blend patched areas with the surrounding drywall. When it comes to texturing and blending for a polished finish, attention to detail is key. Here are some essential tips to help you achieve a professional-looking result:
Texturing and Blending Tips:
| Sanding Techniques | Paint Matching | Spackling Tips |
|---|---|---|
| Prior to painting, make sure the patched area is smooth by using fine-grit sandpaper in a circular motion. | Achieving an exact paint match is essential for smooth blending. Take a sample of the existing wall color to your local hardware store for custom mixing. | Apply spackling compound generously over the patched area, using a putty knife to feather the edges for a polished result. |
| For larger patched areas, consider using a sanding block for even pressure and a uniform finish. | Test the paint on a small inconspicuous area first to ensure a perfect match before applying it to the repaired section. | Sand the spackled area lightly once dry to blend the patch with the surrounding wall seamlessly. |
| Clean the sanded area thoroughly to remove any dust or debris before moving on to painting. | Blend the new paint outwards from the patched area, feathering the edges to merge smoothly with the existing wall color. | After painting, lightly sand the edges of the painted patch to ensure a polished result with the rest of the wall. |
Wrap-Up
You have now mastered the art of drywall repair with these three exceptional techniques. Your patched holes are smoother than a baby’s bottom. Your corners are reinforced like a fortress. Your textured finish blends in so flawlessly, it’s like the repair never even happened.
Your walls look flawless, and your skills are unmatched. Keep up the great work and enjoy your newly repaired and perfected home!
