Table of Contents
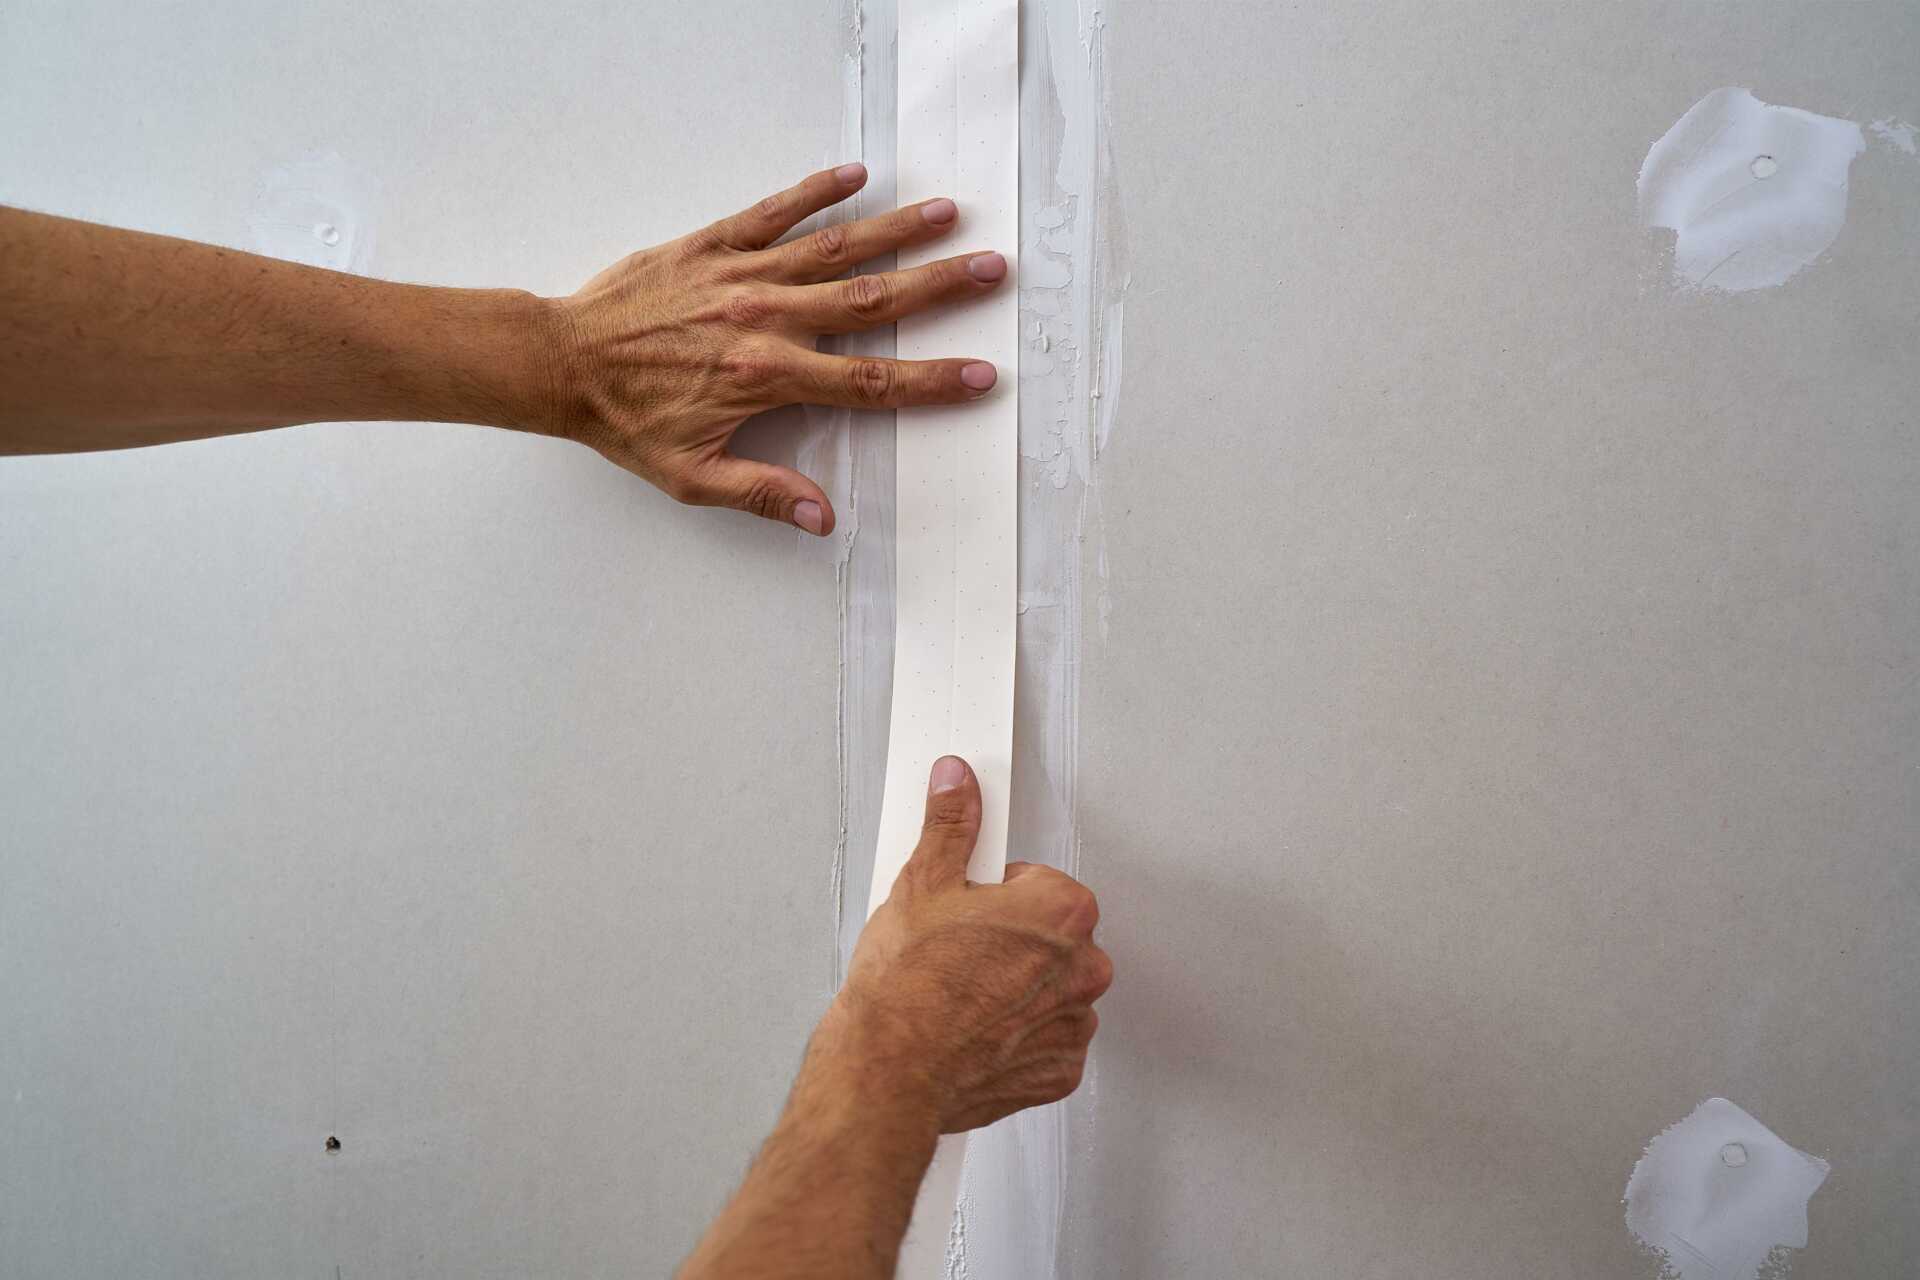
To excel in the art of drywall taping, you must focus on precision and technique. You can achieve a flawless finish that transforms your walls by mastering the three fundamental steps. Each step plays a vital role in the final outcome, ensuring a professional-looking result that will elevate the aesthetics of your space. As you start on this journey towards expertise in drywall taping, remember that attention to detail is key.
Key Takeaways
- Properly prepare the drywall surface for taping.
- Apply joint compound evenly and feather edges.
- Let the compound dry completely before sanding.
- Inspect for imperfections and reapply if needed.
- Sand lightly for a smooth finish before painting.
Preparing the Drywall Surface
Are you wondering how to properly prepare the drywall surface before taping? When it comes to drywall patching techniques, ensuring a smooth and even surface is vital for a professional finish. Begin by inspecting the drywall for any cracks, holes, or imperfections. Use a joint compound or spackling paste to fill in these areas, making sure to feather the edges to blend smoothly with the surrounding surface. Once the patches are dry, it’s time to focus on sanding.
Sanding is a critical step in preparing the drywall surface for taping. Start by using a sanding block or sandpaper to smooth out the patched areas. Remember to sand in a circular motion to avoid creating grooves in the drywall. It’s important to sand lightly and gradually increase pressure as needed to achieve a level surface. Be sure to wipe away any dust with a clean cloth or vacuum before proceeding to the next step.
For sanding tips and tricks, consider using a sanding sponge for hard-to-reach areas or corners. Additionally, investing in a sanding pole can help cover larger sections efficiently. Keep a keen eye out for any remaining rough patches or uneven areas, as these can affect the final taping results.
Applying the Joint Compound
Inspect the sanded drywall surface for any remaining imperfections before moving on to applying the joint compound. Make sure that the surface is clean, smooth, and free of any dust or debris.
To begin, mix the joint compound until it reaches a critical consistency, making it easier to apply. Using a taping knife, start by loading a small amount of compound onto the blade.
For a smooth application, bear in mind to hold the knife at a slight angle to the wall. Apply the joint compound over the joints and screws with even pressure, spreading it thinly and uniformly. Proper technique is important here. Be sure to feather the edges of the compound to blend it seamlessly with the surrounding drywall.
Continue applying the joint compound until all the joints and screws are covered. Be mindful of any air bubbles or excess compounds that may have formed during application. Smooth them out using the taping knife for a flawless finish.
Once the joint compound is applied, allow it to dry completely before moving on to the next step. Proper drying time is vital for a successful taping job.
The next section will explore the final touches and sanding process to achieve a professional-looking result.
Finishing Touches and Sanding
Achieve a smooth and professional finish by focusing on the final touches and meticulous sanding process after the joint compound has dried thoroughly. To achieve a flawless result, begin by inspecting the dry joint compound for any imperfections. Address any uneven areas or bumps by carefully scraping them with a putty knife.
Next, apply a thin layer of joint compound over the seams and screw indentations, feathering the edges to blend harmoniously with the surrounding drywall.
When it comes to sanding techniques, use a sanding sponge or sandpaper with fine grit to smooth out the joint compound. Work in a circular motion, gradually expanding the sanding area to ensure consistency. Pay special attention to the edges to prevent visible lines or ridges. Remember, the key to achieving a polished finish lies in patience and attention to detail.
For those seeking sanding tips, consider using a sanding pole for high or hard-to-reach areas to maintain uniformity throughout the project. After sanding, wipe down the walls with a damp cloth to remove dust particles before applying primer and paint.
These final touches will elevate the overall look of the drywall, leaving you with a professional result that will make you proud of your craftsmanship.
Summary
Now that you’ve mastered the art of expert drywall taping in three simple steps, you’re ready to transform any room with confidence and precision.
Remember, practice makes perfect, so don’t be afraid to tackle those imperfections head-on.
With a little time and effort, you’ll have walls that are smooth as butter in no time.
So grab your tools, put on your favorite music, and let’s get that drywall looking flawless!
