Table of Contents
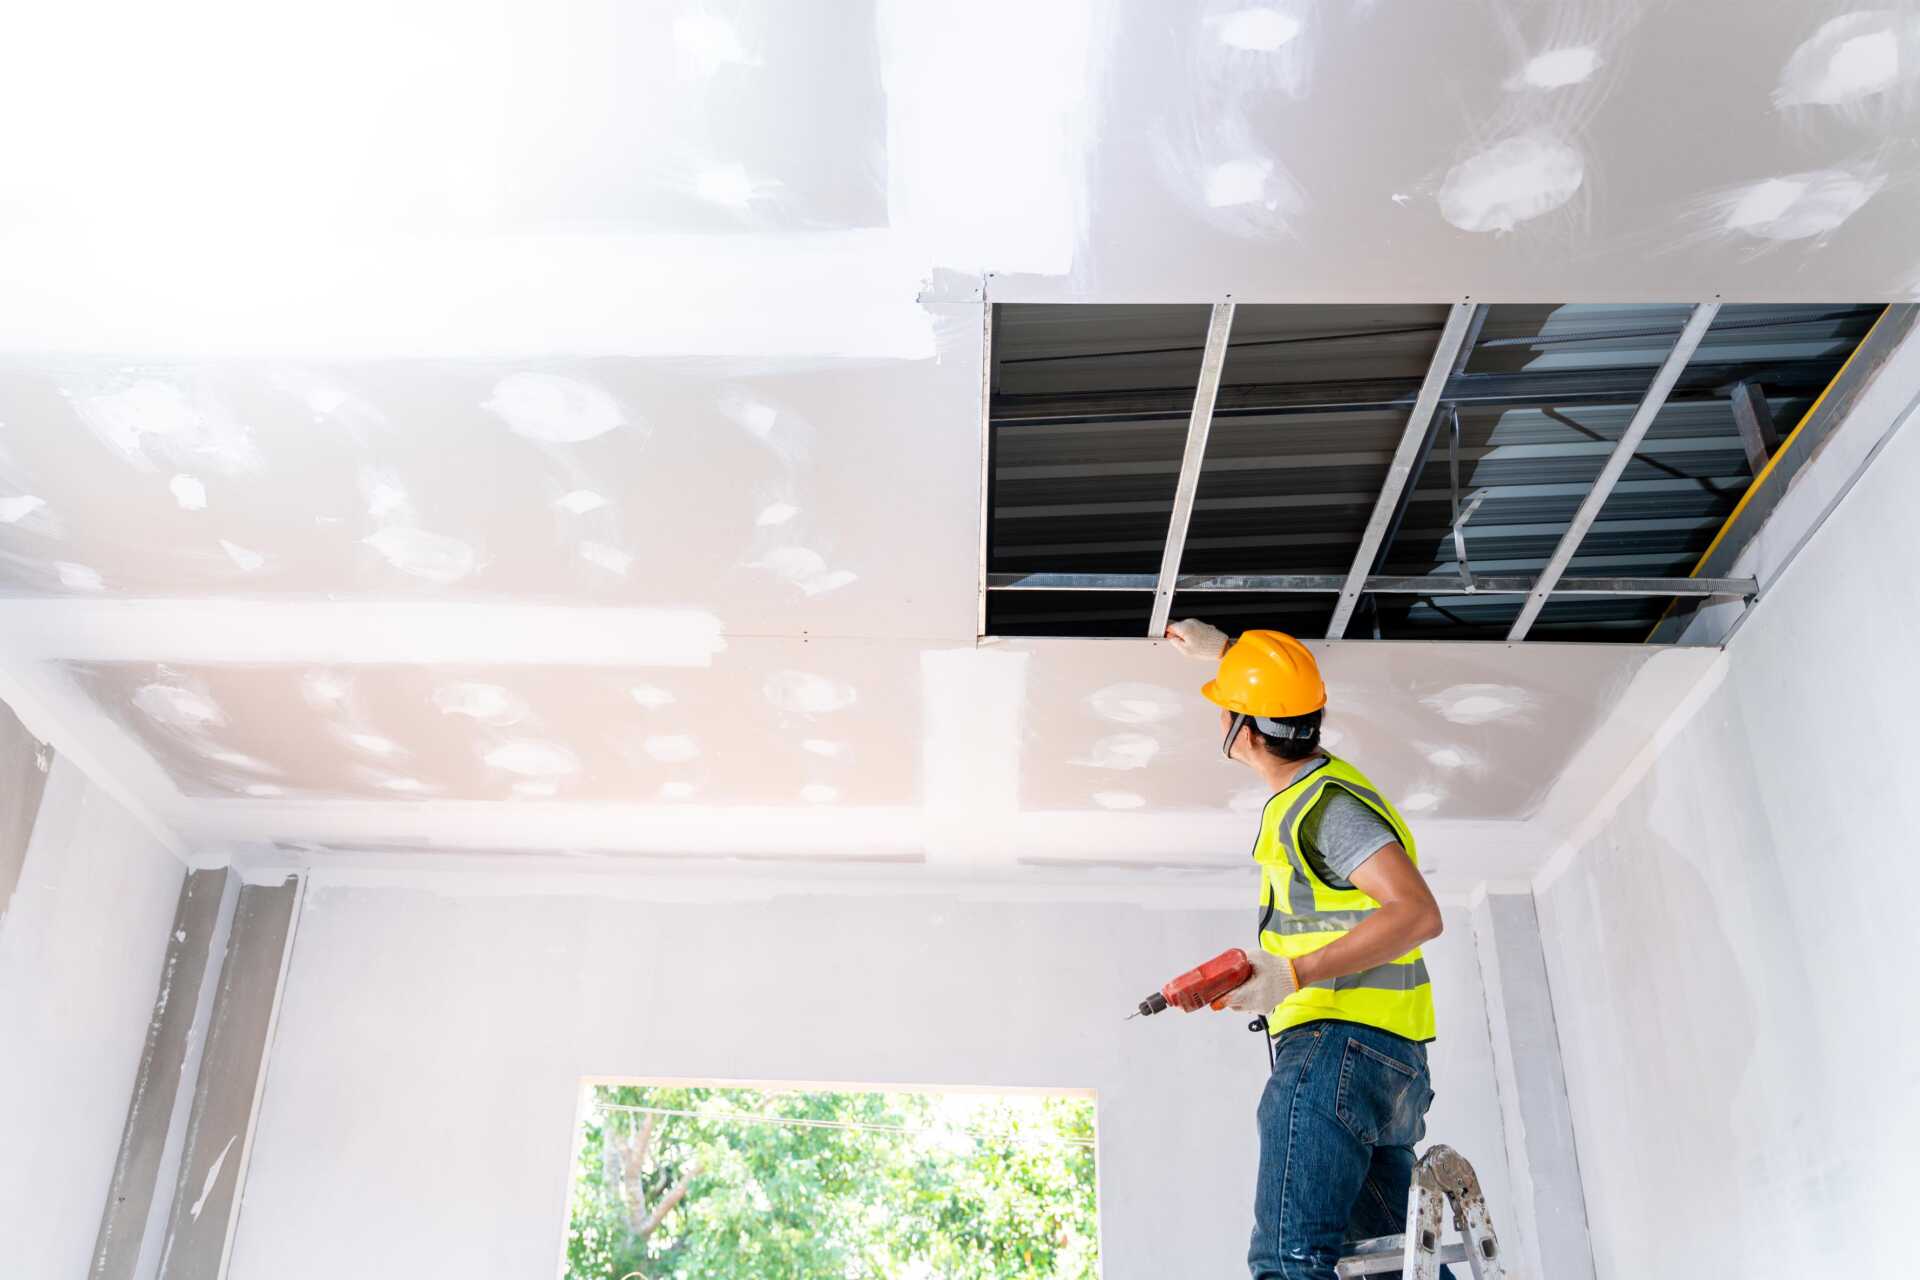
From improper measurement and cutting to insufficient screw placement and neglecting proper joint taping, avoiding sheetrock installation errors is essential. By understanding these top three sheetrock installation mistakes, you can ensure a smooth and robust finish for your walls or ceilings.
Improper Measurement and Cutting
When it comes to sheetrock installation, one of the most common mistakes to avoid is inaccurate measurement and cutting. Ensuring precise measurements and accurate cuts is essential for a successful sheetrock installation that looks professional and ensures a sturdy finished product.
Before you even pick up your tools, take the time to measure the area where the sheetrock will be installed. Use a tape measure to obtain precise dimensions of the walls or ceiling where the sheetrock will go. Remember, the old saying “measure twice, cut once” is particularly true in sheetrock installation. Double-check your measurements to prevent unnecessary errors.
When it comes to cutting the sheetrock, use a T-square to ensure straight lines. Make sure your utility knife blade is sharp to avoid rough edges. Score the sheetrock first, then snap it along the scored line for a clean break. Avoid excessive cutting, as this can result in gaps that will require filling later on.
Accurate measurement and cutting are the basis of a successful sheetrock installation. By taking the time to measure precisely and cut with accuracy, you’ll save yourself time and frustration in the long run. Remember, attention to detail at this stage will lead to a finished project that you can take pride in.
Inadequate Screw Placement
Proper screw positioning is vital for a successful sheetrock installation. When hanging sheetrock, it’s important to make sure that the screws are positioned accurately to provide a sturdy and smooth finish.
One common mistake is positioning screws too near the edges of the sheetrock panels. This can cause the edges to crumble or break, affecting the quality of the installation. To prevent this, ensure there’s a minimum of 12 inches of space between screws and edges.
Another mistake to avoid is excessive or insufficient screwing of the sheetrock. Excessive screwing can result in protrusions or fractures on the surface, while insufficient screwing can lead to the sheetrock sagging over time. The optimal screw depth should be just below the surface without damaging the paper layer.
Furthermore, irregular screw spacing can lead to uneven surfaces and noticeable indentations on the sheetrock. To avoid this, strive for consistent screw positioning, typically around 16 inches apart for wall studs and 12 inches for ceiling joists.
Ignoring Proper Joint Taping
Ignoring appropriate joint taping during sheetrock installation is a critical error that can significantly impact the overall quality of the finish. Proper joint taping is essential for creating seamless and polished walls or ceilings. When joint taping is disregarded, it can result in noticeable imperfections, cracks, and an unpolished appearance in your sheetrock installation. To ensure a flawless finish, here are five key reasons why proper joint taping is essential:
Preventing cracks: Joint taping assists in strengthening the seams between sheetrock panels, reducing the chances of cracks forming over time.
Enhancing durability: Correctly taped joints enhance the overall strength and lifespan of the sheetrock installation, making it more resilient to wear and tear.
Improving aesthetics: Neatly taped joints create a visually appealing surface that boosts the overall look of the room.
Minimizing maintenance: Well-taped joints necessitate less upkeep and touch-ups, saving you time and effort in the long term.
Ensuring insulation: Proper joint taping helps preserve the integrity of the insulation behind the sheetrock, optimizing energy efficiency.
Summary
As you finish up your sheetrock installation project, remember to step back and admire the smooth, uniform walls you have created. Like a skilled craftsman, you have avoided the common pitfalls of improper measurement, weak screw placement, and neglected joint taping. The result is a sturdy, flawless finish that adds a touch of elegance to your space. Keep these lessons in mind for future projects, and your walls will always stand strong and true.
