Table of Contents
Have you ever walked into a freshly renovated room and marveled at the perfectly smooth and seamless walls? You may not realize it, but achieving that flawless finish involves a meticulous process known as drywall mudding and taping.
It goes beyond simply slapping joint compounds on the walls and hoping for the best. Quality drywall mudding and taping involves a combination of proper surface preparation, choosing the right joint compound, skillful taping techniques, applying multiple coats of mud, and the finishing touches of sanding.
But what exactly does each step entail? And how can it make a difference in the overall outcome of your project? Let’s explore further.
Key Takeaways
- Proper surface preparation and priming are essential for quality drywall mudding and taping.
- Choosing the right joint compound, considering factors like convenience and viscosity, is crucial for achieving the desired results.
- Skillful taping techniques, including using the right tools and applying multiple coats, help create a seamless and durable finish.
- Sanding and finishing touches, such as using the right grit sandpaper and filling small imperfections, contribute to a smooth and professional-looking end result.
Proper Surface Preparation
Before you begin the drywall mudding and taping process, it’s crucial to properly prepare the surface. Surface repairs and priming techniques are essential steps that will ensure a smooth and flawless finish.
When it comes to surface repairs, it’s important to address any cracks, dents, or holes before applying the mud and tape. Start by removing any loose or damaged drywall, and then use a joint compound to fill in the imperfections. Make sure to feather out the edges to blend them seamlessly with the surrounding area. Allow the compound to dry completely before moving on to the next step.
Once the surface repairs are done, it’s time to prime the walls. Priming not only helps the mud and tape adhere better, but it also creates a uniform surface for the paint to adhere to later. There are various priming techniques you can use, depending on the condition of the drywall and your desired outcome.
If you’re working with new drywall, a coat of PVA primer is recommended. PVA primer is specifically designed for new drywall and helps seal the surface, preventing any moisture from affecting the mud and tape.
For previously painted or repaired walls, an oil-based or latex-based primer will do the trick. These primers will provide better adhesion and help seal any stains or imperfections.
Choosing the Right Joint Compound
Now that you have properly prepared the surface, it’s important to choose the right joint compound for the drywall mudding and taping process. Joint compound selection plays a crucial role in achieving a smooth and professional finish.
When it comes to choosing the joint compound, you have a few options to consider. The most common types of joint compounds are ready-mixed and powdered. Ready-mixed joint compound is convenient and easy to use right out of the container. It’s suitable for small projects and DIY enthusiasts. On the other hand, powdered joint compound requires mixing with water before use and is more suitable for larger projects where a greater amount of compound is needed.
Another important factor to keep in mind is the drying time of the joint compound. Proper drying time is essential for a successful drywall mudding and taping job. Each type of joint compound has its own drying time, so it’s important to follow the manufacturer’s instructions. Rushing the drying process can lead to cracks and imperfections in the finish. Patience is key here.
It’s also worth noting that joint compounds are available in different viscosities, ranging from lightweight to heavyweight. Lightweight joint compounds are easier to sand and are ideal for achieving a smooth finish. Heavyweight joint compounds, on the other hand, are more durable and suitable for high-traffic areas.
Skillful Taping Techniques
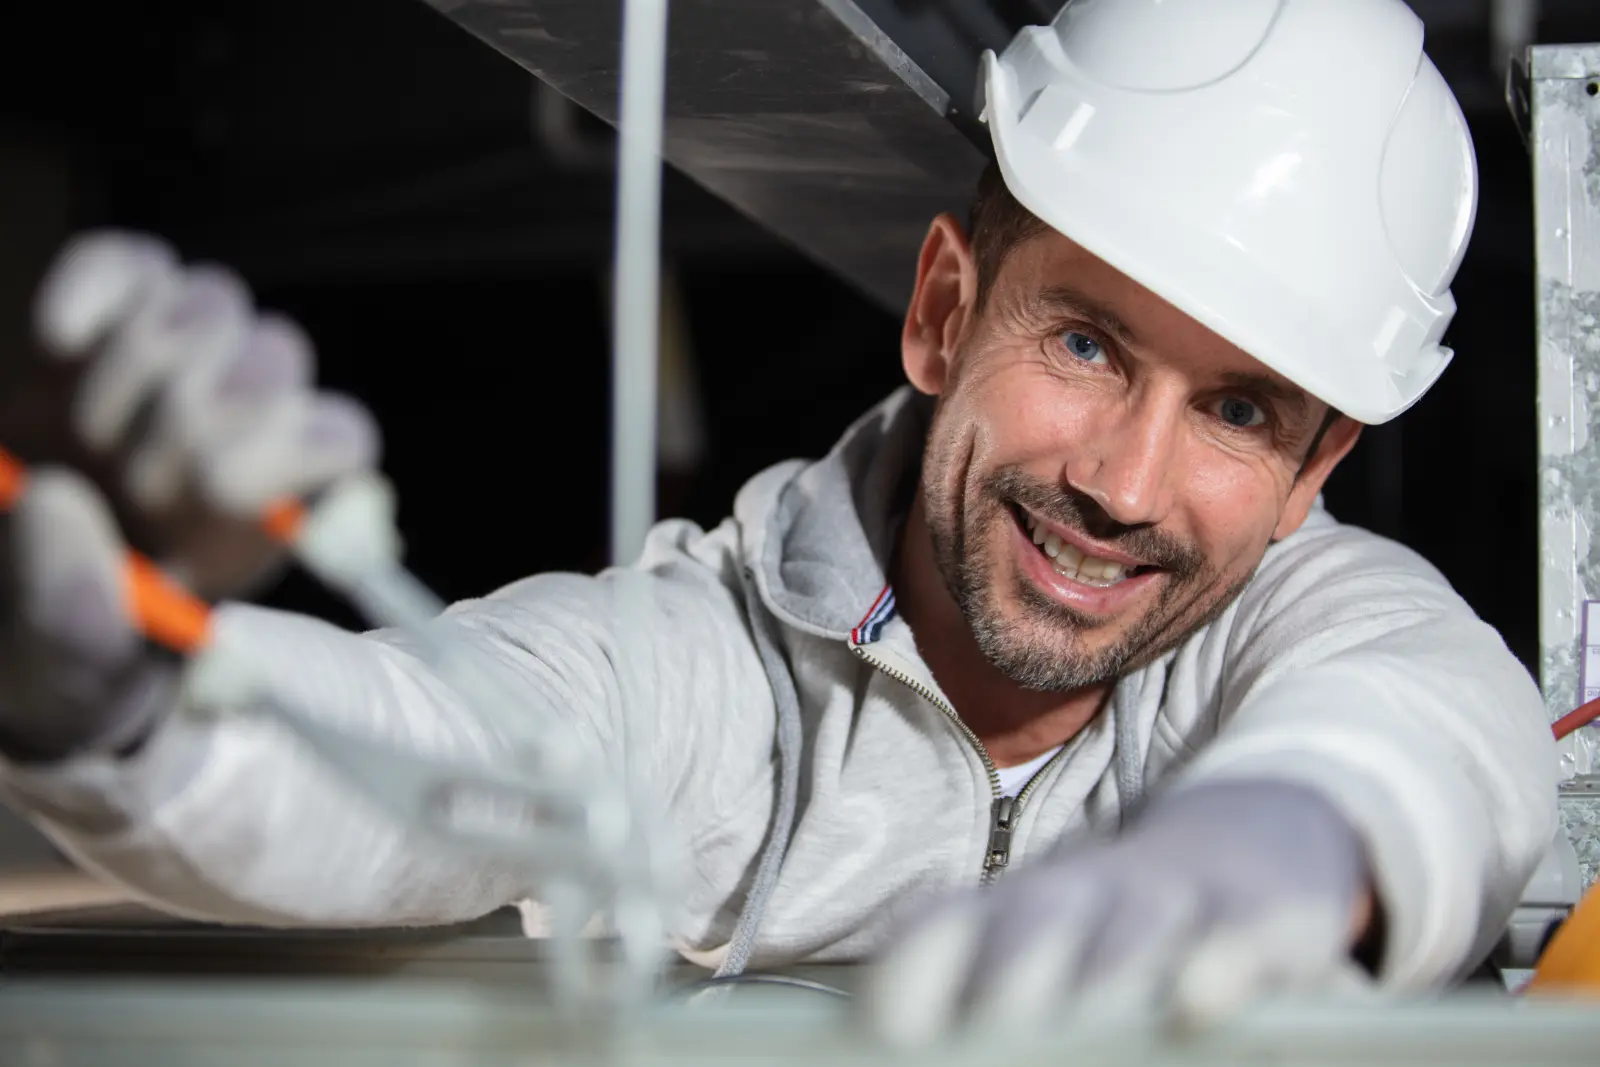
To achieve a professional finish, you need to employ skillful taping techniques during the drywall mudding process. Skillful taping is essential for creating smooth and seamless joints, ensuring a flawless appearance for your walls. By mastering efficient application methods, you can achieve a high-quality result that will make you feel proud of your work.
One of the key elements of skillful taping is using the right tools. Invest in a good-quality taping knife with a comfortable grip, as this will enable you to apply the joint compound smoothly and evenly. Additionally, using a corner trowel will help you achieve sharp and clean corners, adding a professional touch to your finished walls.
When applying the joint compound, it’s crucial to use efficient techniques. Start by applying a thin layer of joint compound along the joint, using the taping knife to spread it evenly. Then, embed the tape into the compound, making sure it’s centered over the joint. Use the taping knife to press the tape firmly into the compound, removing any excess material as you go.
After embedding the tape, apply a second coat of joint compound to cover the tape completely. Use the taping knife to smooth out any excess compound and feather the edges for a seamless finish. Repeat this process for any additional coats, ensuring each layer is smooth and uniform.
Applying Multiple Coats of Mud
Start by applying a thin layer of joint compound over the tape, using smooth and even strokes with your taping knife. This step is crucial in achieving a smooth and seamless finish for your drywall. After the first coat, it’s important to let it dry completely before moving on to the next step.
Here are some tips to help you apply multiple coats of mud effectively:
- Feathering technique: When applying subsequent coats of mud, use a feathering technique to blend the edges of the previous coat. This technique ensures a smooth transition and helps to eliminate visible lines or ridges.
- Sanding between coats: After each coat of mud has dried, lightly sand the surface to remove any imperfections or bumps. This step is essential for achieving a flawless finish.
- Thin coats: It’s best to apply thin coats of mud rather than thick ones. Thin coats dry faster and are easier to work with. Building up the layers gradually will result in a more professional-looking finish.
- Sanding sponge: Consider using a sanding sponge instead of sandpaper for sanding between coats. Sanding sponges are flexible and conform to the shape of the drywall, making it easier to achieve a smooth surface.
- Clean tools: Keep your taping knife and other tools clean throughout the process. Any dried mud or debris on the tools can affect the quality of your finish. Regularly wipe them clean with a damp cloth.
Sanding and Finishing Touches
Are you ready to achieve a flawless finish by sanding and adding the finishing touches to your drywall? Sanding is a crucial step in the drywall mudding and taping process, as it helps create a smooth surface for painting or wallpapering. To achieve a smooth finish, it’s important to use the right sanding techniques.
Start by using medium-grit sandpaper to remove any high spots or imperfections on the surface of the drywall. Work in a circular motion, applying even pressure to ensure a consistent finish. Be careful not to sand too aggressively, as this can damage the drywall and create uneven surfaces.
Once you have removed the high spots, switch to a finer-grit sandpaper to further smooth the surface. This will help eliminate any remaining imperfections and create a seamless finish. Again, work in a circular motion, paying attention to detail and ensuring that all areas are properly sanded.
After sanding, it’s time to add the finishing touches to your drywall. This involves filling in any remaining small holes or imperfections with a thin layer of joint compound. Use a putty knife to apply the compound, smoothing it out to blend seamlessly with the surrounding drywall.
Review
Achieving quality drywall mudding and taping involves several key steps. Firstly, proper surface preparation is essential for a smooth and even finish. This includes cleaning the walls, removing any loose debris, and ensuring the surface is properly primed.
Next, choosing the right joint compound is crucial. There are different types available, such as lightweight or all-purpose compounds, and selecting the one that suits your specific needs is important for achieving the desired results.
Skillful taping techniques are also necessary for a professional-looking finish. This involves applying the joint tape evenly and smoothly, ensuring there are no wrinkles or bubbles. It’s important to pay attention to corners and seams to avoid any visible lines or imperfections.
Applying multiple coats of mud is another important step. Each coat should be allowed to dry completely before applying the next one. This helps to build up the thickness and smoothness of the finish.
Finally, finishing touches through sanding is necessary to achieve a polished and seamless look. Sanding should be done carefully and gradually, starting with coarser sandpaper and gradually moving to finer grits to achieve a smooth surface.
It’s worth considering hiring professional help to ensure a high-quality finish for your walls. Hiring professionals can save you time, effort, and potentially costly mistakes, ensuring that your walls look their best.