Table of Contents
You might think that all drywall joint tapes are created equal, but when it comes to achieving a flawless finish, it’s crucial to choose the right one.
That’s where these top drywall joint tapes come in. With their superior quality and innovative features, they offer a range of benefits that can make all the difference in your next drywall project.
But what exactly sets them apart? Well, you’ll have to keep reading to uncover the secret behind their success.
Key Takeaways
- Choosing the right drywall joint tape is crucial for achieving a flawless finish and enhancing the durability of the joints.
- Common mistakes in drywall joint taping include applying too much joint compound and not properly embedding the joint tape.
- There are different types of drywall joint tapes, such as paper tape, fiberglass mesh tape, and self-adhesive mesh tape, each with its own characteristics and suitability for specific areas or projects.
- Using top drywall joint tapes offers benefits such as a strong and seamless bond between drywall panels, reduced accumulation of dust and debris, easier application of joint compound, and time and effort-saving during installation.
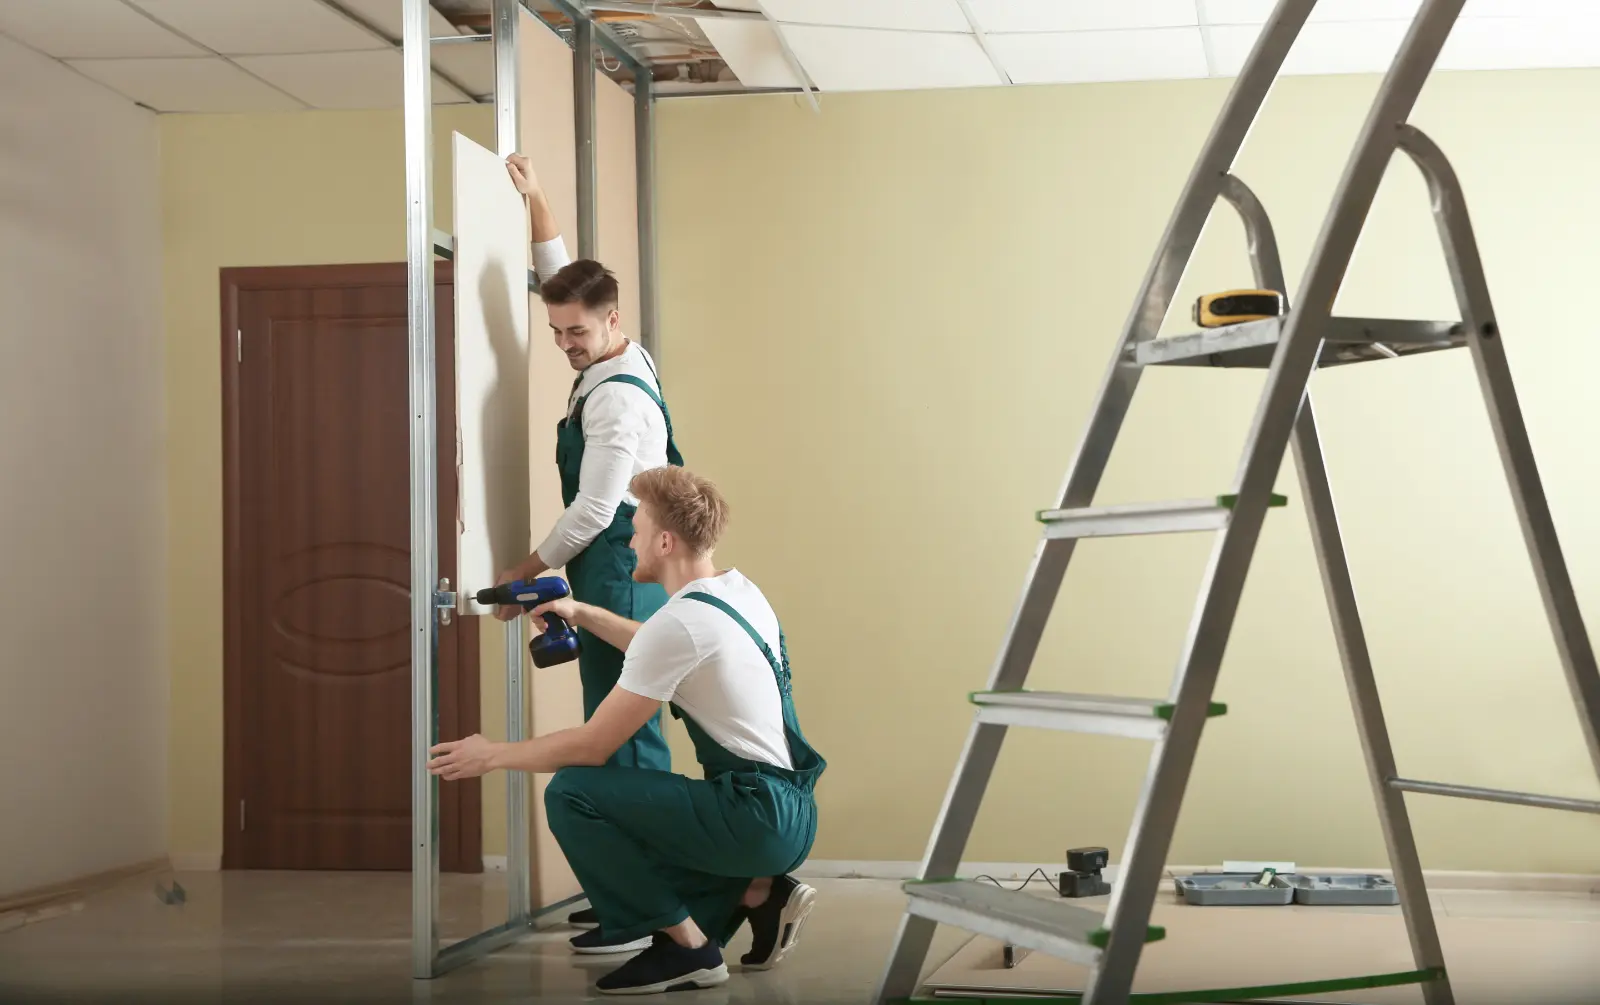
Joint Taping Basics
To achieve a smooth and seamless finish on your drywall joints, it’s essential to master the basics of joint taping. Proper drywall joint tape application is crucial in creating a strong and durable joint that can withstand the test of time. By understanding the common joint taping mistakes and how to avoid them, you can ensure a professional-looking result and feel a sense of belonging in your home improvement project.
One of the most common mistakes in drywall joint taping is applying too much joint compound. While it may seem like a good idea to use a generous amount to fill in gaps and imperfections, it can actually lead to cracking and a bumpy finish. Instead, apply a thin layer of joint compound over the joint tape, using a taping knife to smooth it out evenly.
Another mistake to avoid isn’t properly embedding the joint tape. Before applying the joint compound, make sure to press the tape firmly into the joint, ensuring it’s fully adhered to the drywall. This will help prevent the tape from lifting or bubbling, which can result in visible seams.
Additionally, it’s important to feather out the joint compound when taping corners. Many people make the mistake of applying too much compound in the corners, resulting in a bulky and uneven finish. Instead, apply a thin coat of compound, gradually widening it as you move away from the corner.
Types of Drywall Joint Tapes
Mastering the basics of joint taping, such as avoiding common mistakes, leads to a seamless finish on your drywall joints and sets the stage for exploring the different types of drywall joint tapes available. Understanding the differentiating characteristics of drywall joint tapes is crucial in making an informed decision for your project.
One type of drywall joint tape is paper tape. This type of tape is made of paper and is commonly used for its affordability and ease of use. Paper tape is relatively thin and flexible, making it ideal for covering flat seams and inside corners. However, it isn’t as strong as other types of tape and may not be suitable for areas prone to high stress or movement.
Another option is fiberglass mesh tape. This tape is made of woven fiberglass threads and is known for its exceptional strength and durability. Fiberglass mesh tape is resistant to cracking and is suitable for both flat seams and corners. However, it can be more difficult to work with than paper tape, as it’s thicker and less flexible.
A self-adhesive mesh tape is a convenient option for quick and easy application. This type of tape has an adhesive backing, eliminating the need for additional joint compounds. Self-adhesive mesh tape is perfect for small repairs or DIY projects. However, it may not be as strong as other types of tape and may not provide the same level of durability.
Benefits of Using Top Drywall Joint Tapes
Using top drywall joint tapes offers several benefits that can greatly enhance the quality and durability of your drywall joints. One of the main advantages of using these tapes is that they provide a strong and seamless bond between the drywall panels, preventing any cracks or gaps from forming. This ensures that your walls or ceilings remain structurally sound for a longer period of time.
Another benefit is that top drywall joint tapes help to reduce the amount of dust and debris that can accumulate in the joints. By creating a smooth and even surface, these tapes make it easier to apply joint compounds and achieve a seamless finish. This not only improves the aesthetic appeal of your walls or ceilings but also makes them easier to clean and maintain.
In addition, using top drywall joint tapes can save you time and effort during the installation process. These tapes are designed to be self-adhesive, which means that they can be easily applied to the joints without the need for additional tools or materials. This can significantly speed up the drywall installation process, allowing you to complete your project in a shorter amount of time.
However, it’s important to note that there may be some disadvantages to using top drywall joint tapes. For example, these tapes can be more expensive than traditional jointing methods. Additionally, if not properly applied, they may not provide the same level of strength and durability as other jointing techniques. Therefore, it’s important to carefully consider your specific needs and budget before deciding to use top drywall joint tapes.
Step-by-Step Guide to Joint Taping
When it comes to joint taping for drywall, following a step-by-step guide can ensure a seamless and durable finish, building upon the benefits of using top drywall joint tapes. To help you achieve a professional-looking result, here is a simple guide to joint taping techniques:
Prepare the surface:
Start by cleaning the drywall surface thoroughly, removing any dirt, dust, or loose particles. Make sure the surface is dry and smooth before proceeding.
Apply joint compound:
Use a putty knife to spread a thin layer of joint compound over the joint or seam. Extend the compound beyond the joint by a few inches to ensure a strong bond.
Embed the tape:
Place the drywall joint tape over the joint, pressing it firmly into the compound. Use the putty knife to smooth out any air bubbles or wrinkles. Make sure the tape is centered over the joint and is fully embedded in the compound.
Apply additional coats:
Once the tape is in place, apply another layer of joint compound over the top, extending it wider than the previous layer. Smooth out the compound with the putty knife, feathering the edges to create a seamless transition.
Sand and finish:
After the joint compound has dried completely, use sandpaper to smooth out any rough edges or imperfections. Apply additional coats of compound if necessary, sanding between each layer. Finish by priming and painting the drywall surface to achieve a polished look.
Tips for Achieving a Professional Finish
To achieve a professional finish, consider incorporating these helpful tips into your drywall joint taping process.
When applying joint compound, make sure to use the right tools. A taping knife with a wide blade is perfect for applying compound to seams and joints, while a smaller putty knife is great for filling in nail holes.
It’s also important to mix the compound properly. Follow the instructions on the package, and make sure to achieve a smooth and creamy consistency.
Another tip is to apply the compound in thin layers. Building up thin coats allows for easier sanding and a smoother finish. Avoid applying too much compound at once, as it can result in uneven drying and cracking. Take your time and apply multiple thin coats, allowing each layer to dry completely before applying the next.
When smoothing the compound, use a sanding sponge or sandpaper. Start with a coarse grit to remove any high spots and imperfections, then switch to a finer grit for a smoother finish. Remember to always sand in a circular motion to avoid creating visible lines.
To prevent common mistakes, make sure to feather the edges of the compound. Feathering involves gradually tapering the compound towards the edges, creating a seamless transition between the compound and the surrounding wall. This helps to avoid visible lines and makes for a more professional finish.
Lastly, always prime the drywall before painting. Priming helps to seal the joint compound, allowing for better adhesion and a smoother paint finish. Choose a high-quality primer and apply it evenly to the entire wall before painting.
Summary
So, why settle for anything less than the best when it comes to drywall joint tapes?
These top-notch tapes are like the finishing touch that brings your project to life. With their strength and flexibility, they ensure a seamless and durable finish, like the final strokes of a master painter.
So, don’t compromise on quality. Choose the top drywall joint tapes and let your walls tell a story of perfection.