Table of Contents
When it comes to plasterboard framing and finishing, there are several key tips that can make a significant difference in the outcome of your project.
Did you know that properly planning your plasterboard layout can save you time and money in the long run? It’s true! By taking the time to carefully plan where each panel will go, you can avoid wasted materials and ensure a seamless look.
But that’s just the beginning – there are three more crucial tips that you don’t want to miss.
So, if you’re looking to achieve professional-quality results and avoid common pitfalls, keep reading.
Key Takeaways
- Assess the structural integrity of the walls before planning the plasterboard layout
- Choose framing materials that are suitable for plasterboard installation, such as screws designed for this purpose
- Use the appropriate tools and techniques for achieving seamless joints, clean corners, and smooth finishes
- Address common issues like cracks, moisture damage, and proper application of joint tape to ensure a successful plasterboard installation and finishing process
Planning Your Plasterboard Layout
To begin planning your plasterboard layout, consider the overall dimensions and shape of the room. Assessing the structural integrity of the walls is essential before proceeding with any plasterboard installation. Look for any signs of damage or weakness, such as cracks or dampness, and address them accordingly. This step will ensure a stable foundation for your plasterboard and prevent future issues.
Once you have assessed the structural integrity, it’s time to focus on maximizing space utilization. Think about how you want to use the room and how the plasterboard layout can support that. For example, if you’re setting up a home office, you may want to include built-in shelves or a desk alcove to make the most of the available space. On the other hand, if it’s a bedroom, you might consider creating a built-in wardrobe or storage nook to keep the room clutter-free.
When planning your plasterboard layout, it’s also important to consider any electrical or plumbing fixtures that need to be accommodated. Make sure to leave enough space for outlets, light switches, and plumbing access points. This won’t only ensure functionality but also simplify any future maintenance or renovations.
Furthermore, consider the aesthetic aspects of the room. Think about the placement of doors, windows, and any architectural features that you want to highlight. Your plasterboard layout should enhance the overall design and create a cohesive look.
Choosing the Right Framing Materials
Now that you have planned your plasterboard layout, it’s time to select the appropriate framing materials for your project. This step is crucial in ensuring the durability and stability of your plasterboard installation.
Here are some key tips to help you choose the right framing materials:
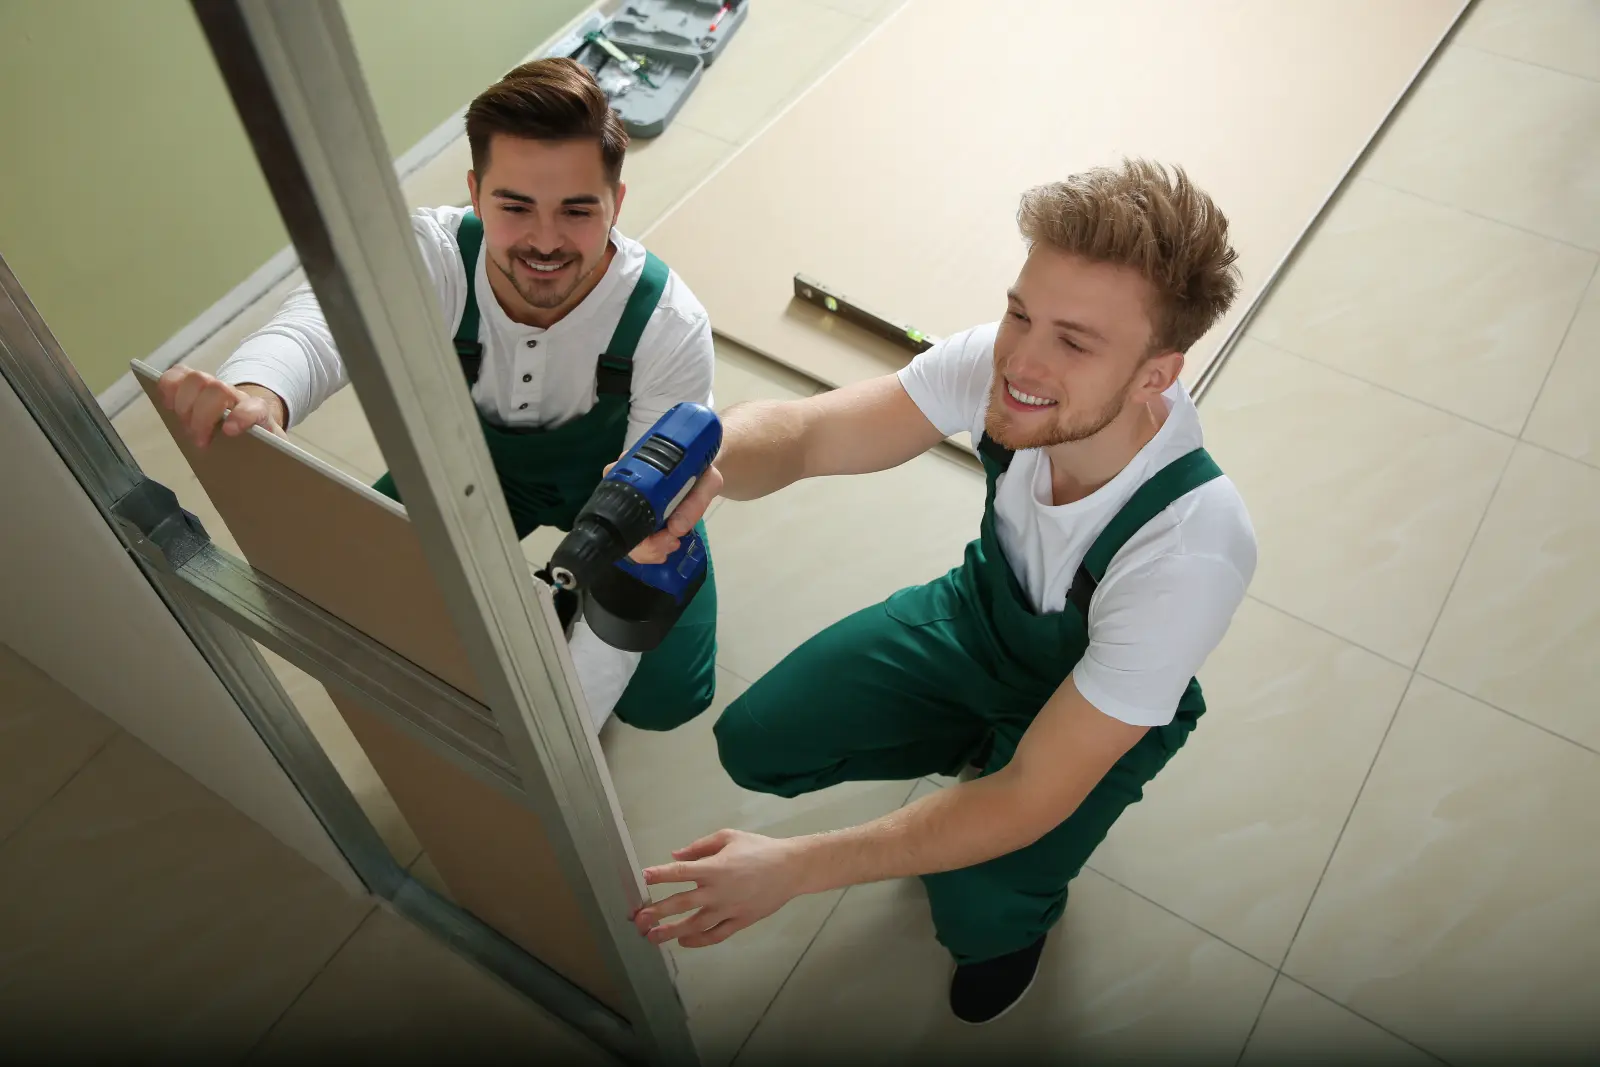
- Choosing the right screws: When it comes to securing the plasterboard to the framing, using the right screws is essential. Opt for screws specifically designed for plasterboard installation, such as fine-threaded or self-drilling screws. These screws provide superior holding power and prevent the plasterboard from sagging or loosening over time.
- Understanding insulation options: Insulation plays a vital role in maintaining a comfortable and energy-efficient living space. When selecting framing materials, consider the insulation options available. You can choose between batt insulation, rigid foam insulation, or spray foam insulation, depending on your specific needs and budget. Each option has its advantages and considerations, so it’s important to do your research and consult with a professional if needed.
- Quality timber or metal framing: The choice between timber or metal framing largely depends on your project requirements and personal preference. Timber framing is a popular choice due to its affordability, versatility, and ease of installation. On the other hand, metal framing offers excellent durability and fire resistance and is often preferred in commercial buildings or areas prone to moisture.
- Moisture-resistant materials: If your project involves areas exposed to moisture, such as bathrooms or kitchens, it’s important to choose moisture-resistant framing materials. Moisture-resistant plasterboard and treated timber or metal framing are specifically designed to withstand moisture and prevent mold or structural damage.
- Consider environmental impact: If you’re environmentally conscious, you may want to consider using sustainable framing materials. Look for materials that are certified as environmentally friendly, such as sustainably sourced timber or recycled metal framing.
Applying the Finishing Touches
You can add the final touches to your plasterboard installation by applying a smooth and seamless finish. Achieving a smooth and seamless finish is essential for creating a polished and professional look on your walls. To achieve this, it’s important to use the right tools for the job.
When it comes to applying a smooth finish, one of the most important tools you’ll need is a taping knife. This tool is specifically designed for spreading joint compounds over the seams between the plasterboard panels. The wide, flat blade of the taping knife allows for even distribution of the joint compound, resulting in a seamless finish. Additionally, using a corner trowel can help you achieve clean and crisp corners.
Another tool you’ll need is a sanding block or sandpaper. After applying the joint compound, it’s important to let it dry completely. Once dry, you can use the sanding block or sandpaper to smooth out any imperfections and create a seamless surface. Be sure to start with a coarse grit sandpaper and gradually work your way up to a finer grit for a flawless finish.
In addition to using the right tools, it’s important to take your time and be patient with the finishing process. Rushing through it can result in a subpar finish. Remember to apply multiple thin coats of joint compound rather than one thick coat, as this will help you achieve a smoother finish.
Troubleshooting Common Plasterboard Issues
If you encounter any issues while applying the finishing touches to your plasterboard installation, there are common problems that you may need to troubleshoot. Here are some tips to help you address these issues and achieve a flawless finish:
- Repairing Cracks: Cracks can be a common problem with plasterboard. To repair them, start by removing any loose plaster or debris from the crack. Then, using a putty knife, apply a thin layer of joint compound over the crack, ensuring it’s completely filled. Smooth out the compound with the putty knife and let it dry. Sand the area lightly and apply another layer of compound if necessary. Once dry, sand the area again and finish with a coat of primer and paint.
- Preventing Moisture Damage: Moisture can cause significant damage to plasterboard. To prevent this, ensure that the installation area is properly ventilated and that any leaks or water sources are fixed promptly. Additionally, consider using moisture-resistant plasterboard in areas prone to high humidity, such as bathrooms and kitchens. Applying a waterproof sealant or paint can also provide an extra layer of protection against moisture damage.
- Proper Joint Tape Application: When applying joint tape, make sure it’s firmly pressed into the joint compound. Use a putty knife to smooth out any bubbles or wrinkles. Apply a thin layer of joint compound over the tape, feathering it out to create a seamless finish. Sand the area lightly and apply another layer of compound if needed.
- Avoid Over-sanding: Over-sanding can result in an uneven surface or even damage the plasterboard. Be careful not to sand too aggressively or for too long. Use fine-grit sandpaper and sand in a circular motion, applying light pressure. Stop sanding once the surface is smooth and even.
- Proper Paint Application: When applying paint to plasterboard, ensure that the surface is clean and dry. Use a primer to seal the plasterboard and create a smooth base for the paint. Apply the paint in thin, even coats, allowing each coat to dry before applying the next. Use a quality paintbrush or roller for a professional finish.
Final Thoughts
So there you have it, the secrets to mastering plasterboard framing and finishing. With these tips in your tool belt, you’ll be able to create smooth, sturdy walls that will stand the test of time.
Just remember, like an artist with a paintbrush, you have the power to transform a plain room into a masterpiece. So go forth, my friend, and let your creativity flow as you bring beauty and elegance to every space you touch.
Happy plastering!