Table of Contents
Imagine walking into a room with walls that resemble a patchwork quilt, with uneven seams and bulging sections. It’s not the sight you were hoping for after completing a drywall installation.
But don’t worry; you’re not alone in facing these common mishaps. From popped nail heads to cracked corners, there are solutions to troubleshoot these issues and achieve a flawless finish.
So, whether you’re a seasoned DIYer or a homeowner tackling your first renovation project, this discussion will equip you with the knowledge and tips to tackle these typical drywall installation problems head-on.
Key Takeaways
- Properly applying joint compound and feathering it outwards can help fix uneven drywall seams and create a smooth transition.
- Ensuring proper nail spacing and using adhesive between drywall and studs can prevent popped nail heads and require covering them with joint compound.
- Addressing moisture issues, using moisture-resistant drywall, and properly sealing joints can prevent bulging or sagging drywall.
- Using proper techniques like feathering, embedding joint tape, and gradual layering of a joint compound can fix tapered or overlapping joints for a seamless blend.
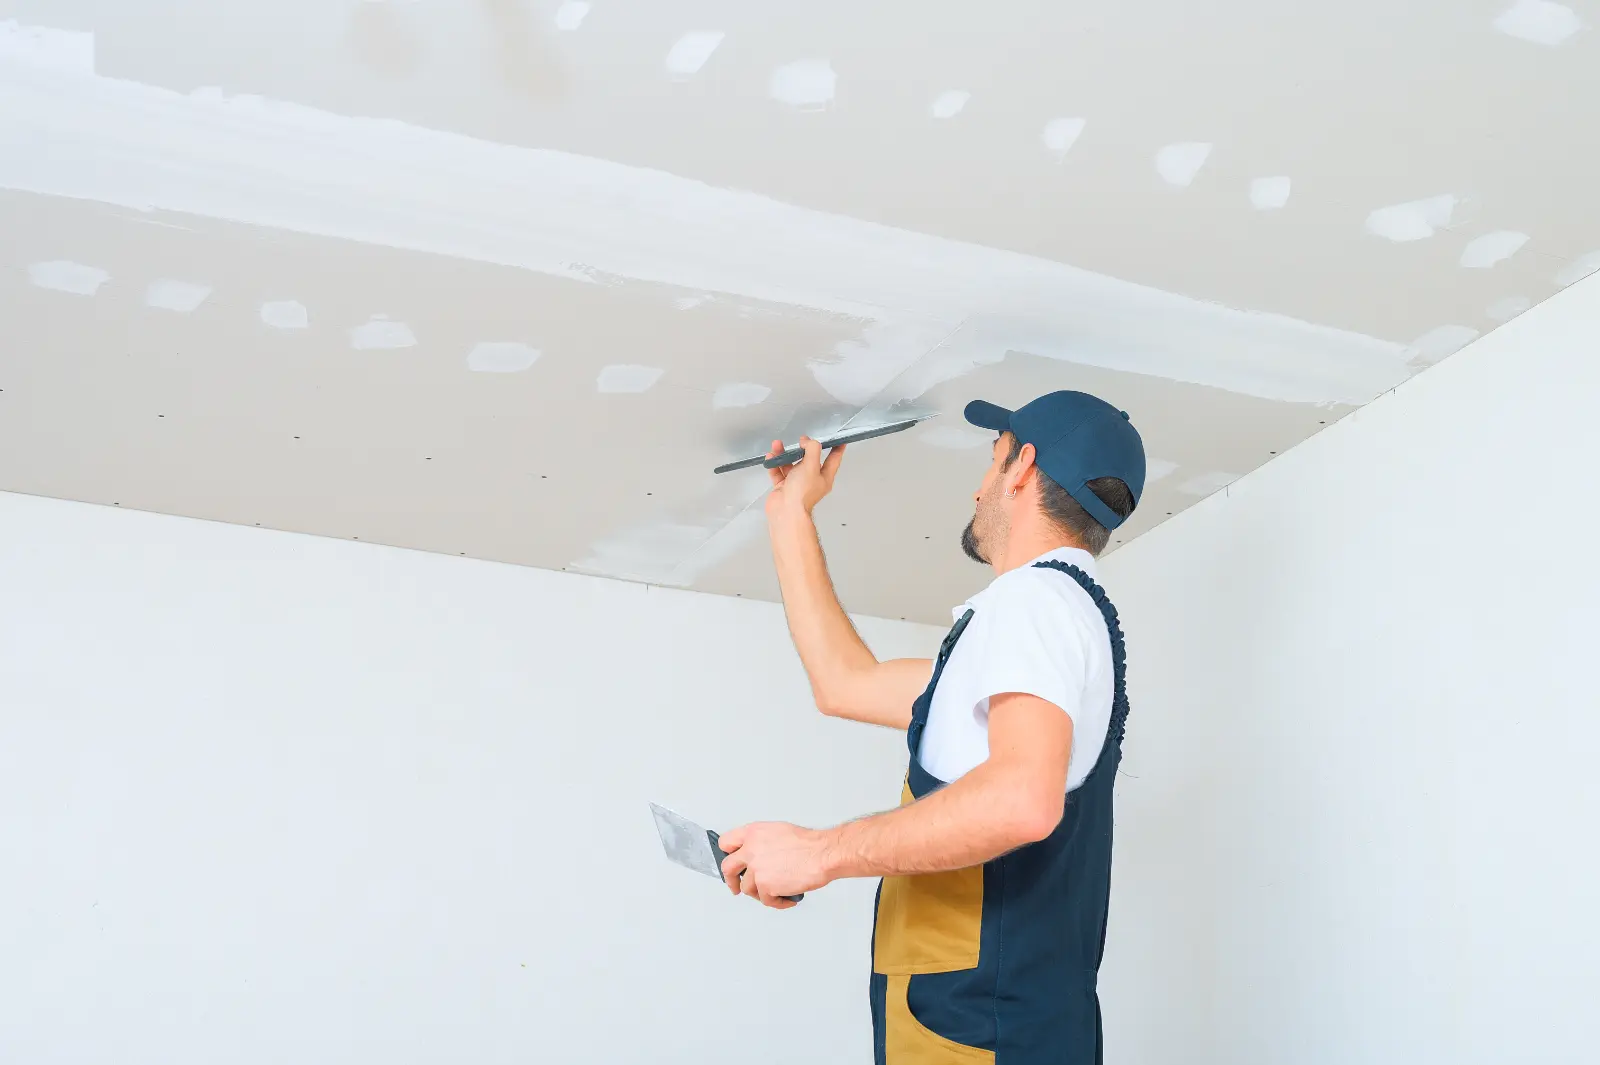
Uneven Drywall Seams
If you notice uneven seams in your drywall installation, there are a few steps you can take to troubleshoot and rectify the issue. Fixing uneven drywall seams is a common concern that many homeowners face, but with the right approach, you can achieve a seamless and professional finish.
Here is a step-by-step guide to help you fix uneven drywall seams and avoid future mishaps.
- First, carefully inspect the seams to determine the cause of the unevenness. Common causes include improper joint compound application, uneven framing, or incorrect drywall installation. Once you have identified the root cause, you can proceed with the necessary repairs.
- To begin, scrape away any excess joint compound or drywall mud from the uneven seams using a putty knife. Be sure to remove any loose or flaking material.
- Next, apply a thin layer of joint compound over the entire seam using a taping knife. Feather the compound outwards to create a smooth transition between the seam and the surrounding drywall.
- Once the joint compound has dried, sand the area gently using fine-grit sandpaper. This will help to further blend the seam and create a seamless finish. Be careful not to over sand, as this can damage the drywall.
- Finally, apply a second coat of joint compound over the seam, extending it slightly beyond the first coat. Repeat the sanding process once the second coat is dry, ensuring a smooth and even surface.
To avoid uneven drywall seams in the future, it’s crucial to ensure proper installation techniques. This includes using the correct type and size of drywall screws or nails, properly aligning the drywall panels, and applying joint compounds evenly. Taking these precautions will help you achieve a flawless finish and ensure a long-lasting and visually appealing result.
Popped Nail Heads
To address popped nail heads in your drywall installation, you can follow these steps for a quick and effective fix.
Proper nail spacing is essential to prevent nail pops. When installing drywall, ensure that the nails are spaced evenly, approximately 12 inches apart along the studs. This helps distribute the weight of the drywall and reduces the chance of nail pops occurring.
However, even with proper spacing, nail pops can still happen. One way to prevent them is by using adhesive between the drywall and the studs. Applying a construction adhesive on the back of the drywall before securing it to the studs can provide extra support and reduce the likelihood of nail pops. The adhesive acts as a bond, keeping the drywall firmly in place.
If you do encounter popped nailheads, don’t worry. It’s a common issue that can be easily fixed. Start by locating the popped nail heads by running your hand along the wall. Once you find them, use a hammer to tap the nail back into the drywall until it’s flush with the surface. Be careful not to damage the drywall while doing this.
After the nail is back in place, you can cover it with a joint compound using a putty knife. Apply a thin layer of compound over the nail head and feather it out onto the surrounding area. Let it dry completely, then sand it smooth. Repeat this process if necessary and finish off with a final coat of joint compound to blend it seamlessly with the rest of the wall.
Following these steps will help you fix popped nail heads in your drywall installation and ensure a smooth and professional finish.
Bulging or Sagging Drywall
When dealing with bulging or sagging drywall, it is important to address the issue promptly to maintain the integrity and appearance of your installation. Bulging or sagging drywall can occur due to various reasons, including drywall moisture problems. Moisture can seep into the drywall, causing it to expand and lose its structural integrity. To prevent drywall bulging and sagging, it is crucial to take preventive measures and address any moisture issues promptly.
Here are a few tips to prevent drywall bulging:
| Preventive Measures | Explanation |
|---|---|
| Use moisture-resistant drywall | Moisture-resistant drywall has a special coating that helps prevent moisture absorption. It is ideal for areas prone to moisture, such as bathrooms and basements. |
| Properly seal joints and seams | Ensuring that all joints and seams are properly sealed with joint compound and tape can prevent moisture from seeping into the drywall. |
| Install proper ventilation | Good ventilation is essential to prevent moisture buildup. Use exhaust fans in areas like bathrooms and kitchens to remove excess moisture from the air. |
| Address plumbing leaks | Promptly fix any plumbing leaks to prevent water from seeping into the walls and causing damage to the drywall. |
| Maintain proper humidity levels | Keep the humidity levels in your home between 30% and 50% to prevent excessive moisture in the air. Use dehumidifiers if necessary. |
Tapered or Overlapping Joints
Addressing tapered or overlapping joints is crucial for achieving a smooth and seamless drywall installation. To ensure a professional finish, you must master the art of joint compound techniques and proper sanding methods.
When it comes to tapered joints, the key is feathering. Apply a thin layer of joint compound over the joint, extending it beyond the tapered edge. Use a wide putty knife to feather the compound gradually towards the center of the joint, blending it seamlessly with the surrounding drywall. Repeat this process, allowing each layer to dry before applying the next until the joint is completely smooth.
Overlapping joints require a slightly different approach. Begin by embedding the joint tape into the first layer of the joint compound, making sure to press it firmly into the seam. Apply a thin layer of compound over the tape, feathering it out to create a gradual transition. Allow it to dry before adding subsequent layers, ensuring each layer is wider than the previous one. This technique will help minimize the appearance of the joint.
Proper sanding is equally important in achieving flawless joints. Start by using a coarse-grit sandpaper to smooth out any high spots or ridges. Gradually move to finer-grit sandpaper, making sure to sand in a circular motion to blend the joint seamlessly with the surrounding area. Remember to clean the dust between sanding passes to maintain a clear view of your progress.
Cracked or Damaged Corners
Repairing cracked or damaged corners is essential for achieving a polished and professional drywall installation. When corners are cracked or damaged, it not only affects the overall appearance of your walls but also compromises their structural integrity.
To ensure that your corners remain intact and free from any damage, consider the following tips:
- Use corner bead reinforcements: Installing metal or vinyl corner bead reinforcements can help prevent cracks and damage to corners. These reinforcements offer extra support and durability to the corners, making them less susceptible to wear and tear.
- Avoid excessive pressure: Applying too much pressure or force on the corners while working with drywall can lead to cracks and damage. Be mindful of the amount of pressure you exert when sanding, taping, or mudding the corners to prevent any unnecessary strain.
- Properly secure the drywall: Make sure that the drywall sheets are securely fastened to the studs or framing behind. Loose or improperly installed drywall can cause corners to crack or become damaged over time.
- Careful handling during installation: Handle the drywall sheets with care, especially when maneuvering them around corners. Rough handling or dropping the sheets can result in chips, cracks, or dents in the corners.
- Allow sufficient drying time: Rushing the drying process can lead to weakened corners. Properly allow the joint compound or mud to dry according to the manufacturer’s instructions before moving on to the next step. This will help ensure that the corners remain strong and intact.
Summary
Drywall installation mishaps can be frustrating, but with the right techniques, they can be easily fixed.
Just like a skilled artist smoothing out brush strokes on a canvas, you can smooth out uneven seams, fix popped nail heads, and repair bulging or sagging drywall.
By paying attention to tapered joints and damaged corners, you can ensure a flawless finish that will leave your walls looking as smooth as silk.