Table of Contents
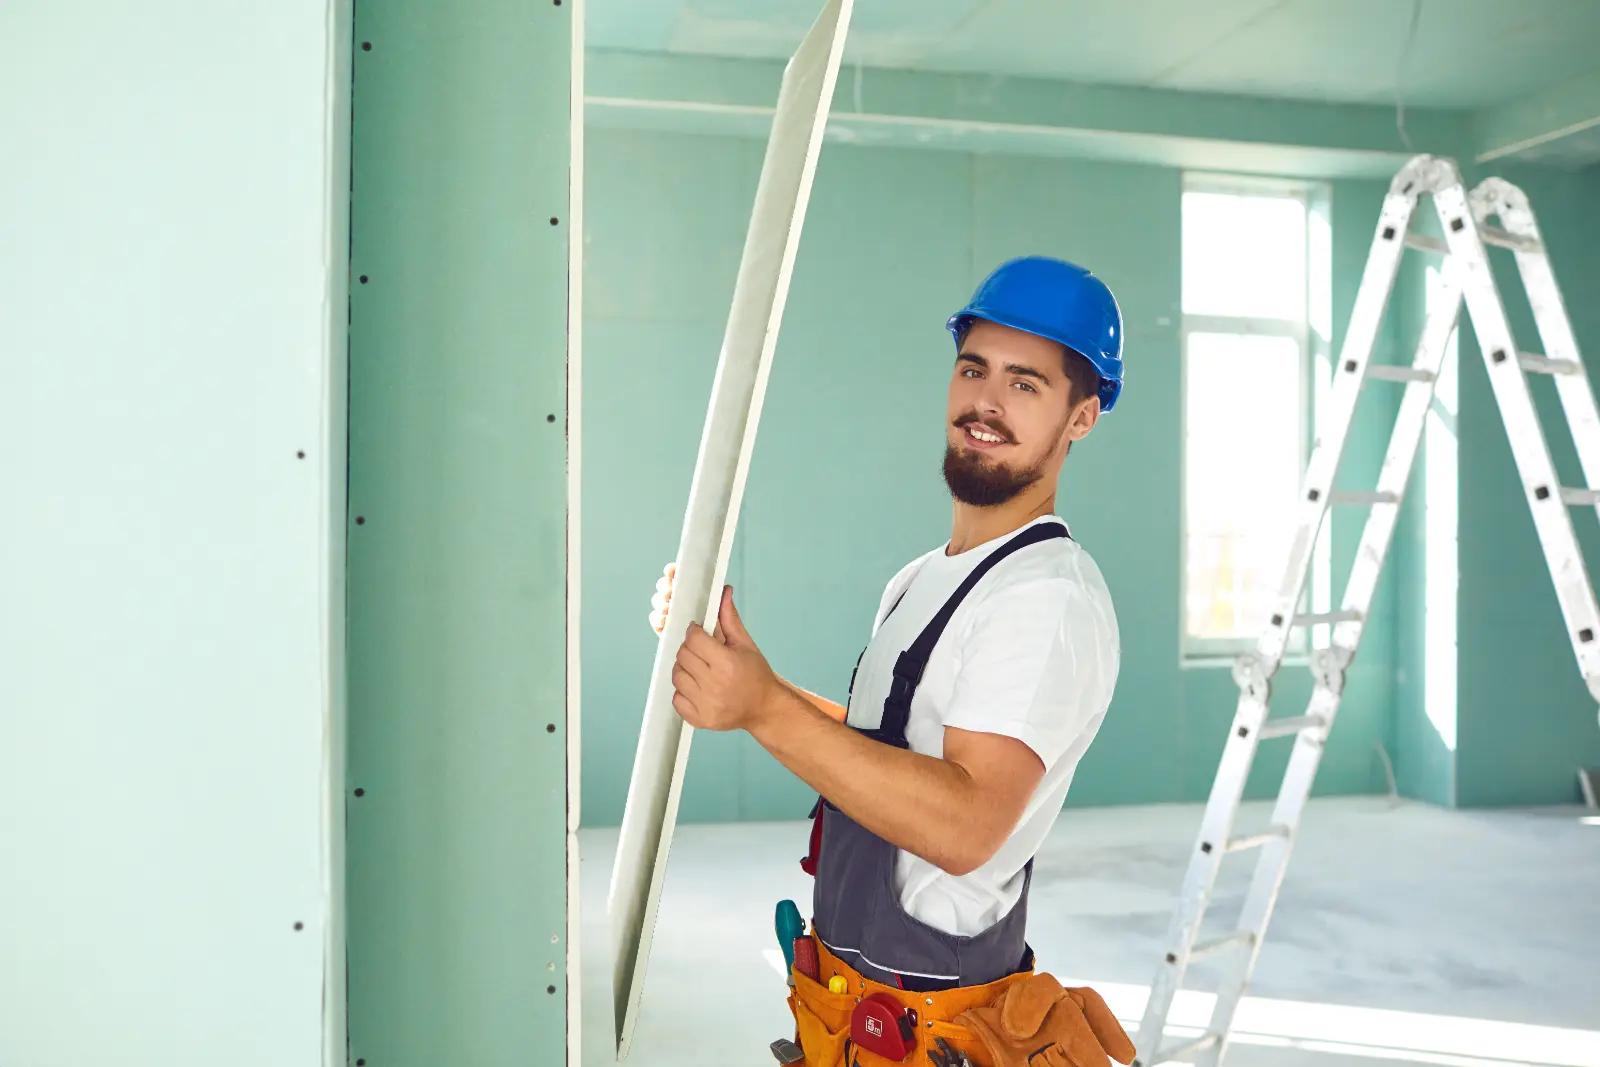
Are you looking to finish your plasterboard walls in the quickest way possible? You want a method that saves you time and effort without compromising on quality. Well, look no further.
In this discussion, we will explore the most efficient techniques and tools to achieve a smooth and professional finish. From preparing the surface to choosing the right joint compound, we will guide you step by step through the process.
So, if you’re ready to transform your walls with speed and precision, let’s get started.
Plasterboard Walls – Key Takeaways
- Time-saving tools and equipment such as high-quality taping knife, corner trowel, power sander, drywall lift, and mud pan with built-in mixing blade can greatly speed up the process of finishing plasterboard walls.
- Proper preparation of the plasterboard surface, including inspecting and repairing any cracks or holes, sanding the surface, and applying a coat of primer, is essential for achieving a smooth and even finish.
- Choosing the right joint compound, such as ready-mixed, lightweight, or all-purpose joint compound, can help save time and achieve desired results in taping and finishing.
- Applying and finishing the compound requires working in small sections, feathering the edges, troubleshooting common issues, using mesh tape and corner beads for added strength and crisp corners, allowing the compound to dry completely before sanding, and applying thin, even layers for a professional and polished look.
Time-Saving Tools and Equipment
Save time and effort by utilizing efficient tools and equipment when finishing plasterboard walls. When it comes to achieving a professional finish, time-saving techniques and professional tips can make all the difference.
One essential tool to have in your arsenal is a high-quality taping knife. This tool allows you to apply joint compound smoothly and evenly, saving you time by reducing the need for excessive sanding and touch-ups. Look for a taping knife with a comfortable grip and a flexible blade for maximum control.
Another time-saving tool is a corner trowel. This specialized tool is designed to help you achieve clean and crisp corners without the need for additional sanding. By using a corner trowel, you can save valuable time by eliminating the tedious process of manually shaping and smoothing the corners.
Additionally, investing in a power sander can greatly speed up the sanding process. A power sander allows you to quickly and efficiently smooth out any imperfections, making your walls ready for painting or wallpapering in no time.
In terms of equipment, using a drywall lift can significantly reduce both the time and physical effort required to install plasterboard sheets on the ceiling. This tool allows you to lift and hold the sheets in place, making the installation process much faster and safer.
Furthermore, using a mud pan with a built-in mixing blade can save you time by eliminating the need for a separate mixing container. By simply adding the joint compound and water directly into the mud pan, you can quickly and easily mix the perfect consistency without any hassle.
Plasterboard Walls – Preparing the Plasterboard Surface
To ensure a smooth and flawless finish, the next step in the process is to properly prepare the surface of the plasterboard. Before you can begin applying any finishing techniques to the plasterboard, it’s important to make sure it’s clean, smooth, and free from any imperfections. Here are some essential steps to follow for preparing the plasterboard surface:
- Inspect and repair: Before starting the drywall installation, carefully inspect the plasterboard for any cracks, dents, or holes. Use joint compound or plaster to fill in any imperfections. Smooth the surface using a putty knife and allow it to dry completely.
- Sand the surface: Once the repairs are dry, sand the entire surface of the plasterboard using fine-grit sandpaper. This will help to create a smooth and even surface for the finishing techniques.
- Remove dust: After sanding, it’s crucial to remove any dust or debris from the plasterboard. Use a damp cloth or vacuum cleaner to thoroughly clean the surface. This will ensure that the finishing materials adhere properly to the plasterboard.
- Apply primer: Before applying any finishing techniques, it’s recommended to apply a coat of primer to the plasterboard surface. This will help to seal the surface and provide a better foundation for the finishing materials.
Choosing the Right Joint Compound
When selecting the appropriate joint compound, consider factors such as the project requirements, desired finish, and ease of application. Choosing the right joint compound can make a significant difference in the efficiency and effectiveness of your plasterboard wall finishing project.
Here are some time-saving techniques to help you make the right choice:
- Ready-mixed joint compound: Opt for ready-mixed joint compound if you want to save time on preparation. This type of compound is pre-mixed and ready to use straight out of the container, eliminating the need for measuring and mixing.
- Lightweight joint compound: If you’re looking for a faster drying time, consider using a lightweight joint compound. This type of compound is easier to handle, spreads smoothly, and dries faster than standard compounds. It’s ideal for projects where time is of the essence.
- All-purpose joint compound: If you’re unsure about the specific requirements of your project, all-purpose joint compound is a versatile option. It can be used for both taping and finishing, reducing the need for multiple products. This saves you time and simplifies the process.
Applying the First Coat of Compound
Now that you have selected the appropriate joint compound for your plasterboard walls, it’s time to move on to applying the first coat of compound. This step is crucial in achieving a smooth and professional finish. To save time and ensure a successful application, there are a few time-saving techniques and common issues to troubleshoot.
Firstly, before starting, make sure your tools and materials are prepared and easily accessible. This includes having a clean and well-mixed compound, a wide taping knife, and a pan to hold the compound. Having everything in place will help you work efficiently and avoid unnecessary delays.
When applying the first coat of compound, it’s important to work in small sections at a time. Begin by loading your taping knife with compound and then apply it in a thin, even layer over the joint or seam. Use long, smooth strokes to spread the compound, feathering the edges to create a seamless transition. This technique will help minimize the amount of sanding required later on.
To save time, consider using a setting-type joint compound for your first coat. This compound dries faster than a regular joint compound, allowing you to move on to the next steps sooner. However, be aware that setting-type compounds can be more difficult to work with, so practice beforehand to ensure a smooth application.
Common issues that may arise during the first coat application include air bubbles, uneven coverage, and excess compound. To troubleshoot these issues, use a joint compound roller or sponge to smooth out any air bubbles. If you notice uneven coverage, apply more compound and feather the edges to blend it in. For excess compound, remove it with your taping knife and apply a thinner layer.
Taping and Sealing the Joints
A crucial step in finishing plasterboard walls is taping and sealing the joints. This ensures a smooth and seamless appearance, making your walls look professionally done. Here are some tips to help you achieve a flawless finish:
- Applying mesh tape: Mesh tape is a popular choice for taping joints as it provides extra strength and durability. To apply it, start by spreading a thin layer of joint compound along the joint using a putty knife. Then, press the mesh tape firmly onto the compound, making sure it covers the entire joint. Smooth out any bubbles or wrinkles using the putty knife, and apply another layer of compound over the tape. Let it dry completely before moving on to the next step.
- Using corner bead: Corner bead is essential for achieving clean and crisp corners. It not only protects the edges but also adds stability to the walls. To install the corner bead, first measure and cut it to the desired length. Then, apply a thin layer of joint compound along the corner using a trowel. Press the corner bead into the compound and secure it with nails or screws. Finally, apply another layer of compound over the bead and let it dry.
- Sealing the joints: Once the tape and corner bead are in place, it’s time to seal the joints. Apply a thin layer of joint compound over the entire joint, feathering the edges to create a smooth transition. Use a wide putty knife to spread the compound evenly and remove any excess. Allow it to dry completely before sanding and applying the next coat of compound.
Plasterboard Walls – Sanding and Smoothing the Surface
To achieve a polished and flawless finish on your plasterboard walls, the next step is sanding and smoothing the surface. This crucial step helps to remove any imperfections and create a smooth and even texture, giving your walls a professional finish. Sanding is an essential part of the drywall techniques used to achieve a high-quality result.
Before you start sanding, it’s important to ensure that the joint compound is completely dry. Using a sanding block or a drywall sander, gently sand the surface in a circular motion, applying even pressure. Be careful not to press too hard, as this can cause damage to the plasterboard. Start with a coarse-grit sandpaper and gradually move to a finer grit for a smoother finish. Remember to wear a dust mask and goggles to protect yourself from dust particles.
As you sand, keep checking the surface for any rough patches or uneven areas. If you come across any imperfections, apply another layer of joint compound and let it dry before sanding again. This process may require multiple rounds of sanding and application of joint compounds to achieve the desired result.
Once you have finished sanding, wipe down the walls with a damp cloth to remove any dust or debris. This will ensure a clean surface for painting or further finishing. By following these drywall techniques and taking the time to sand and smooth the surface, you can achieve professional finishes on your plasterboard walls.
Applying the Final Coat and Finishing Touches
Are you ready to add the final coat and put the finishing touches on your plasterboard walls? This is the exciting part where you get to see your hard work come to life. By following these finishing techniques, you can achieve a flawless finish that will make your walls look professional and polished.
Here are the steps to applying the final coat and adding those finishing touches:
- Start by mixing your joint compound to a smooth consistency. You want it to be easy to spread but not too thin. A thicker consistency will help you achieve a smoother finish.
- Using a wide putty knife, apply the joint compound in thin, even layers. Work in small sections, feathering the edges as you go. This will help blend the compound seamlessly with the rest of the wall.
- Once the final coat is dry, lightly sand the surface to remove any imperfections. Use fine-grit sandpaper and be gentle to avoid damaging the smooth finish you’ve created.
Summary
By utilizing time-saving tools and equipment, properly preparing the plasterboard surface, choosing the right joint compound, and following the steps for applying, taping, sealing, sanding, and smoothing the surface, you can quickly finish plasterboard walls.
So, why spend unnecessary time and effort when you can achieve professional results in no time?