Table of Contents
If you’re hesitant about choosing plasterboard for easy wall repairs because you think it may not be as effective as other materials, think again. Plasterboard has proven itself time and time again as a reliable option for quick and hassle-free repairs.
But what makes it so special? Well, in this discussion, we will explore the numerous benefits of using plasterboard for your wall repairs, as well as provide you with some tips and tricks to achieve a smooth finish.
So, if you want to save time and effort on your next repair project, keep reading to discover why plasterboard should be your go-to choice.
Key Takeaways
- Plasterboard is a versatile and easy-to-work-with material that can be used for various wall repairs.
- It provides a smooth and polished finish, adding a professional look to walls.
- Plasterboard offers excellent durability and insulation properties, making it a long-lasting and energy-efficient choice.
- It is cost-effective, environmentally friendly, and requires minimal maintenance.
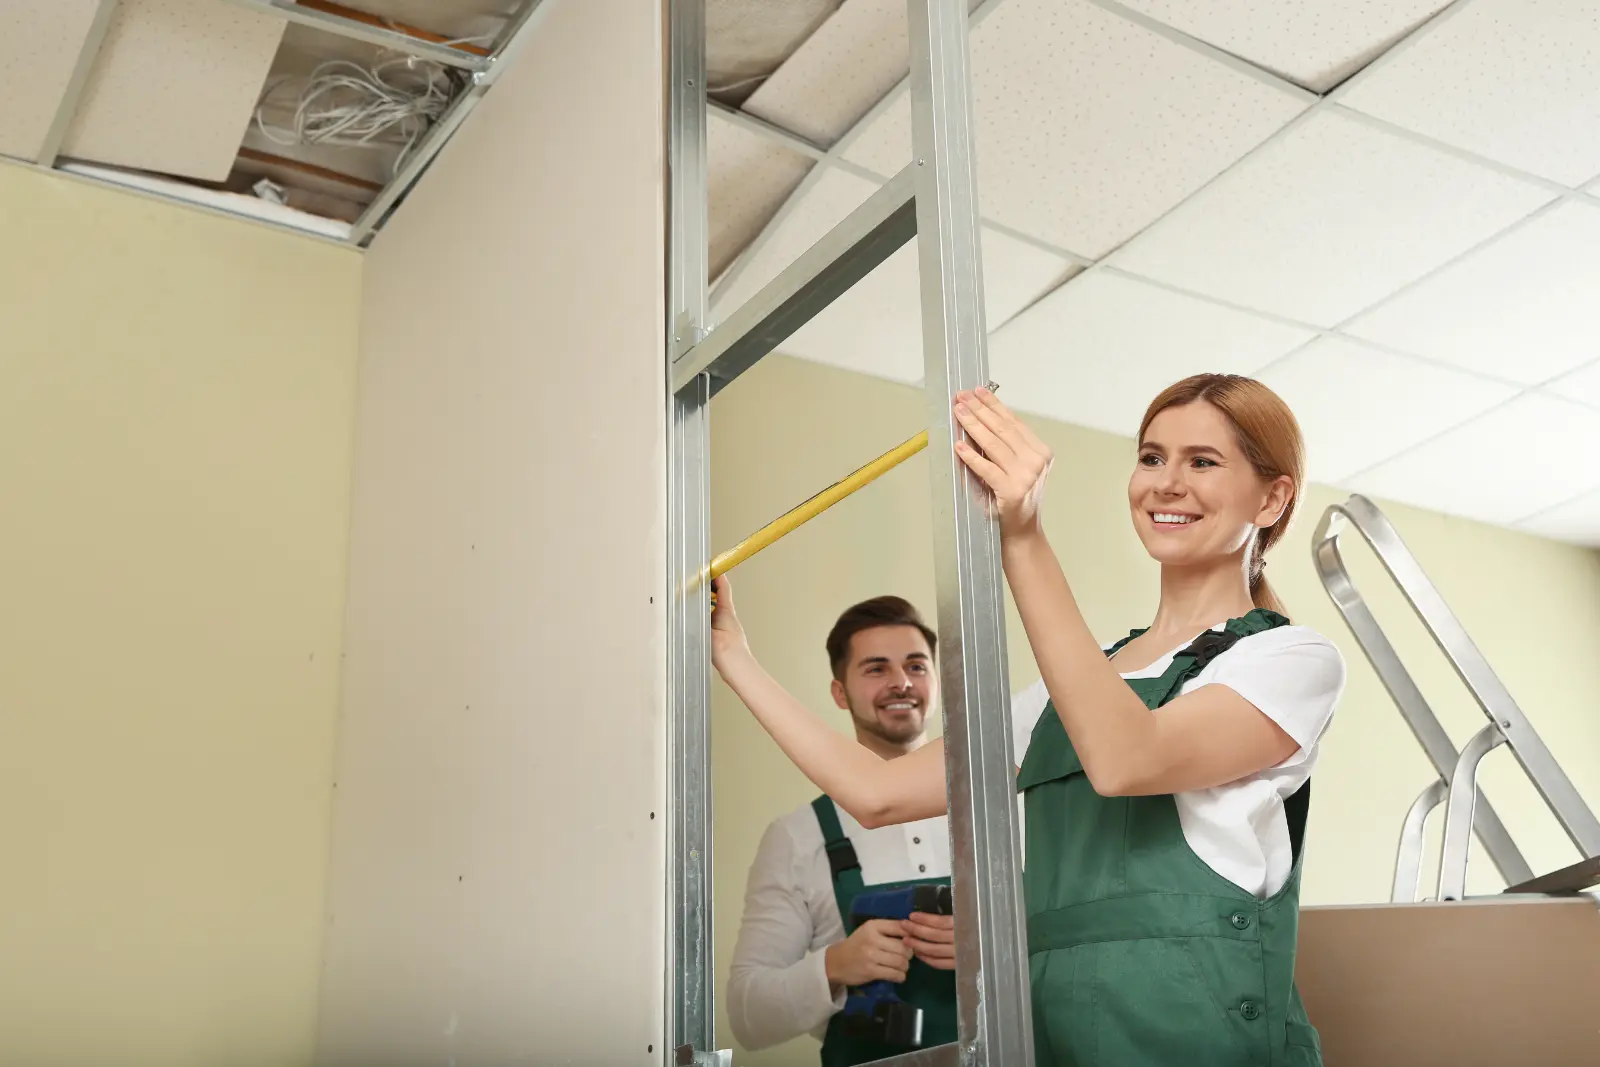
Benefits of Plasterboard Repair
Repairing walls with plasterboard offers several benefits that make it a convenient and efficient choice.
There are several advantages and reasons why you should consider using plasterboard for wall repairs.
Firstly, plasterboard is easy to work with, even for beginners. If you’re looking to repair walls on your own, plasterboard is a great option because it’s lightweight and can be easily cut to fit your specific needs. You don’t need to be an expert to handle plasterboard, making it accessible to anyone who wants to tackle their own wall repairs.
Another advantage of plasterboard is its durability. Unlike traditional wall materials, plasterboard is resistant to cracks and dents, making it a long-lasting solution for your wall repairs. This means that once you fix your walls with plasterboard, you won’t have to worry about frequent repairs or maintenance in the future.
Furthermore, plasterboard offers excellent insulation properties. It helps regulate the temperature in your home, keeping it warm in the winter and cool in the summer. This not only enhances your comfort but also reduces your energy consumption, leading to potential cost savings on your utility bills.
Lastly, plasterboard is a versatile material that can be used in various applications. Whether you need to repair a small hole or cover an entire wall, plasterboard can be easily adapted to suit your needs. Its flexibility allows you to create seamless finishes, giving your walls a polished and professional look.
Types of Plasterboard Finishing
Now, let’s explore the different ways you can finish plasterboard for a seamless and professional look. When it comes to plasterboard finishing, there are several options to choose from, depending on the desired outcome and your project requirements. Here are four different types of plasterboard installation techniques to help you achieve the perfect finish for your walls:
- Taping and Jointing: This method involves applying a joint compound to cover the seams between plasterboard panels. It creates a smooth surface that can be easily painted or wallpapered. Taping and jointing are ideal for achieving a seamless and invisible finish.
- Skimming: Skimming is a technique that involves applying a thin layer of plaster over the entire surface of the plasterboard. This method is commonly used to cover imperfections and create a flawless, polished look. Skimming is recommended for walls that require a high-quality finish.
- Texturing: If you want to add some visual interest to your walls, texturing is the way to go. This technique involves applying a textured finish to the plasterboard, creating different patterns and designs. Texturing can be done using various tools and materials, such as brushes, sponges, or rollers.
- Wallpapering: Another popular option for finishing plasterboard walls is wallpapering. With a wide variety of designs and textures available, wallpaper can instantly transform the look of a room. Whether you prefer a bold statement or a subtle backdrop, there’s a wallpaper to suit every taste and style.
When choosing the right plasterboard finishing technique for your project, consider factors such as the desired aesthetic, level of durability required, and your budget. Each method has its own advantages and considerations, so take the time to research and consult with professionals if needed. With the right choice, you can achieve a seamless and professional finish that will enhance the overall look and feel of your space.
Step-by-Step Guide to Repairing Plasterboard
To start repairing the plasterboard, gather all the necessary tools and materials for the job. The tools you’ll need include a utility knife, plasterboard saw, hammer, screwdriver, sandpaper, joint compound, drywall tape, and a putty knife. These tools are essential for a successful repair and can be easily found at your local hardware store.
Once you have gathered all the tools, it’s time to assess the damage and determine the best approach for repair. Small cracks and holes can be easily fixed using cost-effective solutions. Start by cutting away any loose or damaged sections of the plasterboard using the utility knife or plasterboard saw. Be careful not to cut into the surrounding undamaged areas.
Next, use a putty knife to apply joint compound over the damaged area. Make sure to spread it evenly and feather it out to blend with the surrounding wall. Allow the compound to dry completely, and then sand it down until it’s smooth and flush with the rest of the wall.
For larger holes, you may need to use a patch. Cut a piece of plasterboard slightly larger than the hole and insert it into the opening. Secure it in place using drywall screws or nails. Apply joint compound over the patch, feathering it out to blend with the surrounding wall. Once again, allow the compound to dry, and then sand it down until smooth.
Tips for Achieving a Smooth Finish With Plasterboard
After successfully patching and repairing the plasterboard, you can now focus on achieving a smooth finish. Here are some tips to help you achieve that flawless look you desire:
Proper sanding techniques for plasterboard finishing:
- Start with a coarse-grit sandpaper to even out any high spots or imperfections on the surface.
- Gradually switch to finer-grit sandpaper to smooth out the patched area and blend it seamlessly with the surrounding wall.
- Use long, smooth strokes while sanding to avoid creating uneven patches or visible lines.
- Remember to wear a dust mask and protective goggles to protect yourself from the fine plaster dust.
Choosing the right tools for a flawless plasterboard repair:
- Invest in a high-quality sanding block or sanding pole for better control and consistent pressure while sanding.
- A sanding sponge is great for reaching corners and edges, ensuring a uniform finish throughout the entire surface.
- Consider using a drywall sanding screen for larger areas, as it helps to prevent clogging and produces a smoother finish.
- It’s also helpful to have a vacuum cleaner or a damp cloth nearby to clean up the dust as you go along.
Common Mistakes to Avoid When Repairing Plasterboard
One important aspect to consider when repairing plasterboard is avoiding common mistakes that can compromise the quality of the repair. To ensure a successful outcome, it’s crucial to resist the temptation of taking shortcuts and instead prioritize using the proper tools for the job.
Taking shortcuts may seem like a time-saving solution, but it often leads to subpar results. For example, using low-quality or mismatched joint compounds can result in an uneven or bumpy finish. It’s important to invest in high-quality joint compounds that are specifically designed for plasterboard repairs. Additionally, avoid rushing through the sanding process. Properly sanding the repaired area ensures a smooth and seamless finish, which can’t be achieved by cutting corners.
Another common mistake to avoid is using inappropriate tools for the job. Plasterboard repairs require specific tools such as a utility knife, a taping knife, a sanding block, and a putty knife. Using the wrong tools can lead to inefficient and unsatisfactory repairs. It’s worth investing in the correct tools or borrowing them from a friend or neighbor if necessary.
Lastly, it’s important to follow the manufacturer’s instructions when using any repair products or materials. Failure to do so can result in poor adhesion or inconsistent drying, which will affect the overall quality of the repair.
Summary
So why choose plasterboard for easy wall repairs?
Well, not only does it offer numerous benefits such as durability and affordability, but it also comes in various types of finishing.
By following a simple step-by-step guide and using some helpful tips, you can easily achieve a smooth finish with plasterboard.
Avoiding common mistakes will ensure a flawless repair job.
With plasterboard, fixing your walls has never been easier – it’s like waving a magic wand and making all the imperfections disappear!