Table of Contents
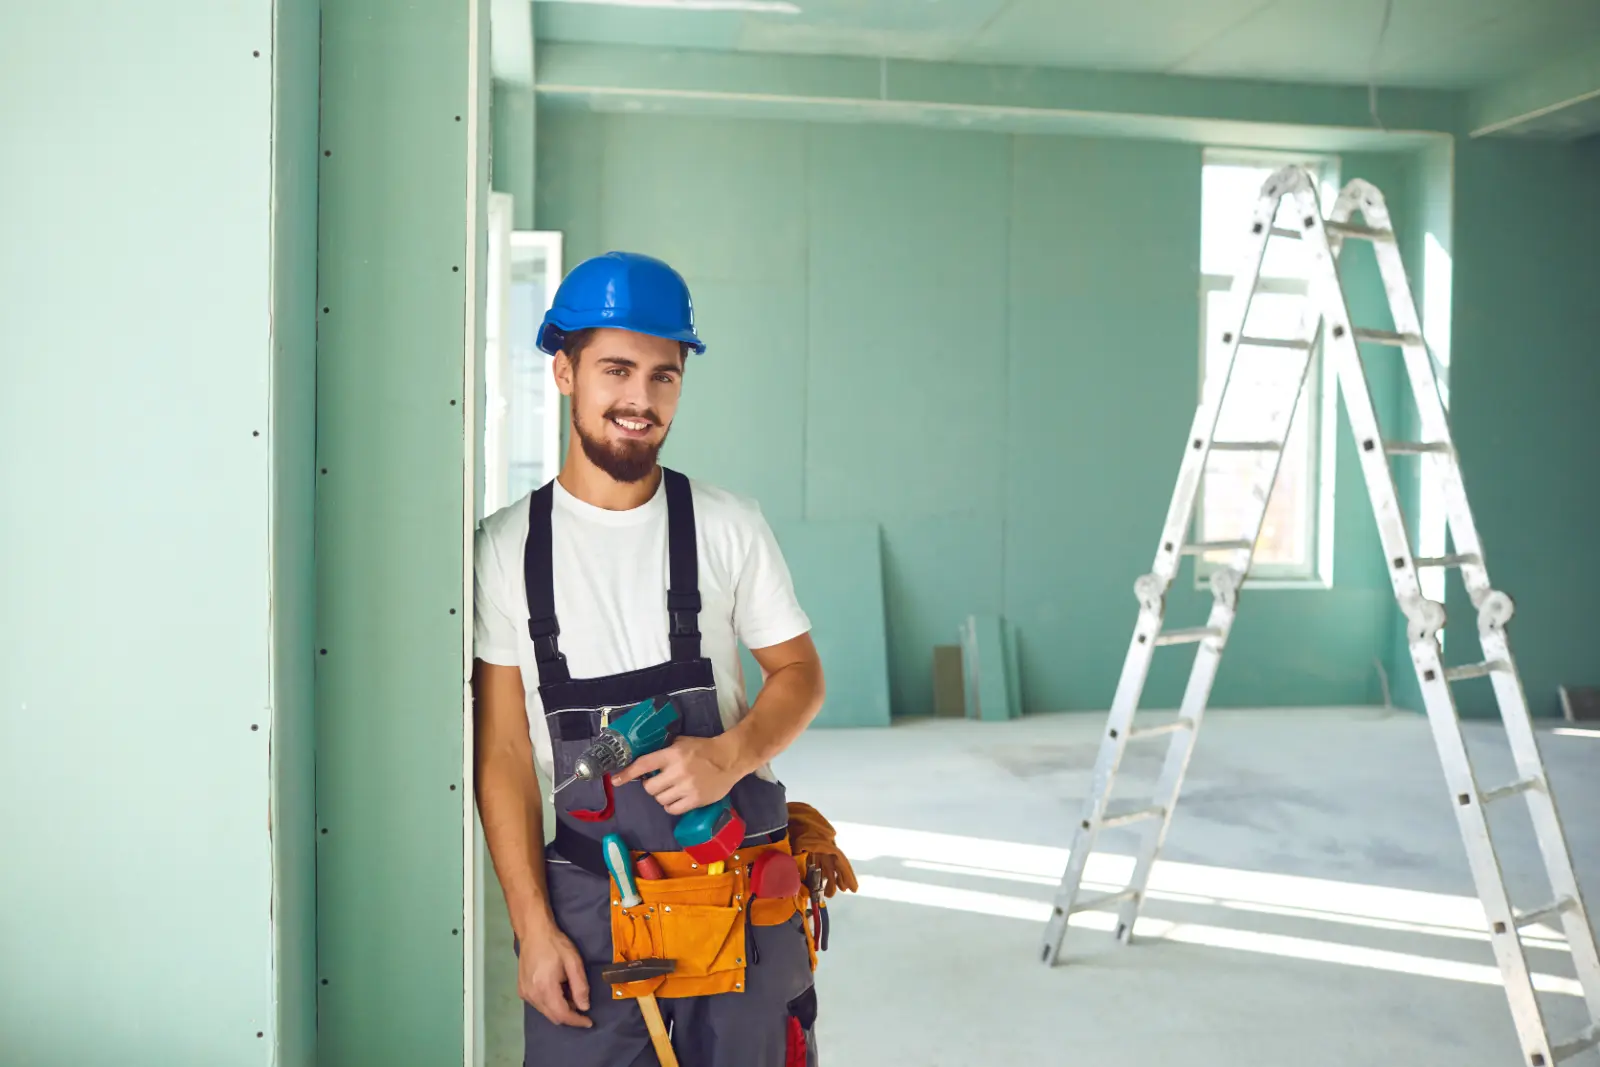
Did you know that the quality of drywall installation can significantly impact the overall appearance and durability of a space? It’s true!
But fear not because, in this article, we will unveil three pro-level drywall installation techniques that will help you achieve flawless results. From precision cutting techniques to advanced hanging methods and expert tips for seamless joint finishing, these techniques will take your drywall installation skills to the next level.
So, if you want to elevate your craftsmanship and create a polished look in your next project, keep reading to discover these game-changing techniques.
Key Takeaways
- Precision cutting techniques are essential for flawless drywall installation.
- Advanced drywall hanging methods, such as the Floating Corner Method and the use of specialized tools, can save time and improve outcomes.
- Mastering texture application techniques through practice is crucial for achieving seamless joint finishing.
- Troubleshooting common joint finishing mistakes, such as insufficient joint compound or improper sanding, is necessary for a smooth finish.
Precision Cutting Techniques
To achieve accurate and clean cuts when installing drywall, it’s crucial to employ precise cutting techniques. When it comes to drywall patching, start by measuring the area that needs to be patched and mark the dimensions on the drywall sheet. Use a straightedge or T-square to create a straight line. Then, score the drywall with a utility knife along the marked line. Apply pressure to the scored line to break the drywall along the cut. Smooth out any rough edges with a sanding block or sandpaper.
For corner bead installation, precision cutting is equally important. Begin by measuring the length of the corner where the bead will be installed. Mark the measured length on the corner bead. Use aviation snips to make the cut, ensuring that you cut along the marked line accurately for a tight fit. Smooth out any sharp or rough edges with a file or sandpaper.
Remember to take your time and be patient when cutting drywall. Rushing through the process can lead to inaccurate cuts and a less professional-looking finish. Keep your tools sharp and in good condition to ensure clean cuts every time. By employing precise cutting techniques, you can achieve a flawless installation and create a space in which you can truly feel a sense of belonging.
Advanced Drywall Hanging Methods
For a more efficient and professional drywall installation, explore advanced hanging methods that streamline the process and enhance the overall outcome. These innovative hanging solutions will save you time and effort and ensure a smooth and seamless finish.
Here are three advanced techniques to consider for an efficient installation process:
- Floating Corner Method: This technique involves installing drywall on one side of the corner first, leaving a small gap between the two sheets. Then, the adjacent sheet is installed, overlapping the gap. This creates a seamless corner that eliminates the need for corner beads and reduces the risk of cracking or bulging.
- Screw Gun with Auto-Feed System: Using a screw gun with an auto-feed system can significantly speed up the hanging process. This tool automatically feeds screws, eliminating the need to manually load each screw. It allows for quick and consistent screw placement, reducing fatigue and increasing productivity.
- One-Person Lift: Hanging drywall can be physically demanding, especially when working with larger sheets. A one-person lift is a valuable tool that allows you to lift and hold drywall sheets in place, freeing up your hands to secure them. This not only improves efficiency but also reduces the risk of injury.
Expert Tips for Seamless Joint Finishing
Now that you have mastered advanced drywall hanging methods let’s move on to expert tips for achieving a seamless joint finish.
As you continue on your journey to becoming a drywall installation pro, mastering texture application techniques and troubleshooting common joint finishing mistakes will be essential skills to acquire.
When it comes to texture application techniques, practice makes perfect. Experiment with different tools and methods to find the one that suits your style and desired outcome. Whether you prefer using a brush, roller or spray gun, make sure to apply the texture evenly and consistently. Practice on scrap pieces of drywall before attempting it on your actual project. This will help you gain confidence and ensure that you achieve the desired texture for a seamless finish.
In addition to mastering texture application techniques, it’s crucial to troubleshoot and avoid common joint finishing mistakes.
One of the most common mistakes isn’t applying enough joint compounds. To prevent this, make sure to apply a generous amount of joint compound to cover the joint completely.
Another mistake to avoid is sanding too much or too little. Sanding is crucial for achieving a smooth finish, so take your time and sand in circular motions to ensure an even surface.
Lastly, be mindful of the drying time for the joint compound. Rushing the process can lead to cracking or uneven texture. Allow sufficient drying time between coats and follow the manufacturer’s recommendations for best results.
Summary
Now that you’ve learned these pro-level drywall installation techniques, you can confidently tackle any drywall project with precision and expertise.
By mastering precision cutting techniques, advanced hanging methods, and expert joint finishing tips, you’ll achieve seamless and professional results.
Don’t let drywall installation intimidate you anymore – you have the knowledge and skills to conquer it!