Table of Contents
Have you ever wondered how professional drywall installers achieve such flawless and seamless walls? Well, it’s not just luck or magic; it’s a combination of essential tips and techniques that can make all the difference in the final result.
From the proper tools to the correct hanging techniques, there are various factors to consider when it comes to master drywall installation.
In this discussion, we will explore some of these key tips and techniques that will help you achieve a professional finish in your drywall projects.
So, let’s dive into the world of drywall installation and uncover the secrets to creating smooth and impeccable walls.
Key Takeaways
- Properly align and secure drywall panels using studs, level, and drywall screws for a sturdy installation.
- Minimize joints and seams by using larger panels and creating smooth transitions with joint compound and drywall tape for a seamless finish.
- Be familiar with drywall repair methods to fix small holes, cracks, or dents, and apply multiple thin layers of patching compound or joint compound for a smooth surface.
- Use measuring tape, utility knife, drywall T-square, screw gun, and drywall lift for accurate measurements, clean cuts, and easy installation.
Drywall Hanging Techniques
When it comes to hanging drywall, there are several techniques that can help you achieve a smooth and professional finish. Whether you’re a beginner or have some experience, mastering drywall hanging techniques is essential for creating a polished look in your home.
One of the key drywall finishing techniques is ensuring that the panels are properly aligned and secured. Start by measuring and marking the placement of studs on the wall, as this will serve as a guide for hanging the drywall. Use a level to ensure that the panels are straight and plumb, and then attach them to the studs using drywall screws. It’s important to drive the screws just below the surface of the drywall, without breaking the paper surface.
Another important aspect of drywall hanging is minimizing joints and seams. This can be achieved by using larger panels whenever possible, as they cover more surface area with fewer joints. However, if you do need to join multiple panels, make sure to create a smooth transition by using joint compound and drywall tape. Apply a thin layer of joint compound over the seams, press the tape into the compound, and then smooth another layer of compound over the tape. This will help create a seamless and professional-looking finish.
In addition to these drywall finishing techniques, it’s also important to be familiar with drywall repair methods. Accidents happen, and knowing how to fix small holes, cracks, or dents in your drywall can save you time and money. Whether using patching compound, spackle, or joint compound, make sure to follow the manufacturer’s instructions and apply multiple thin layers for a smooth finish.
Tools for Drywall Installation
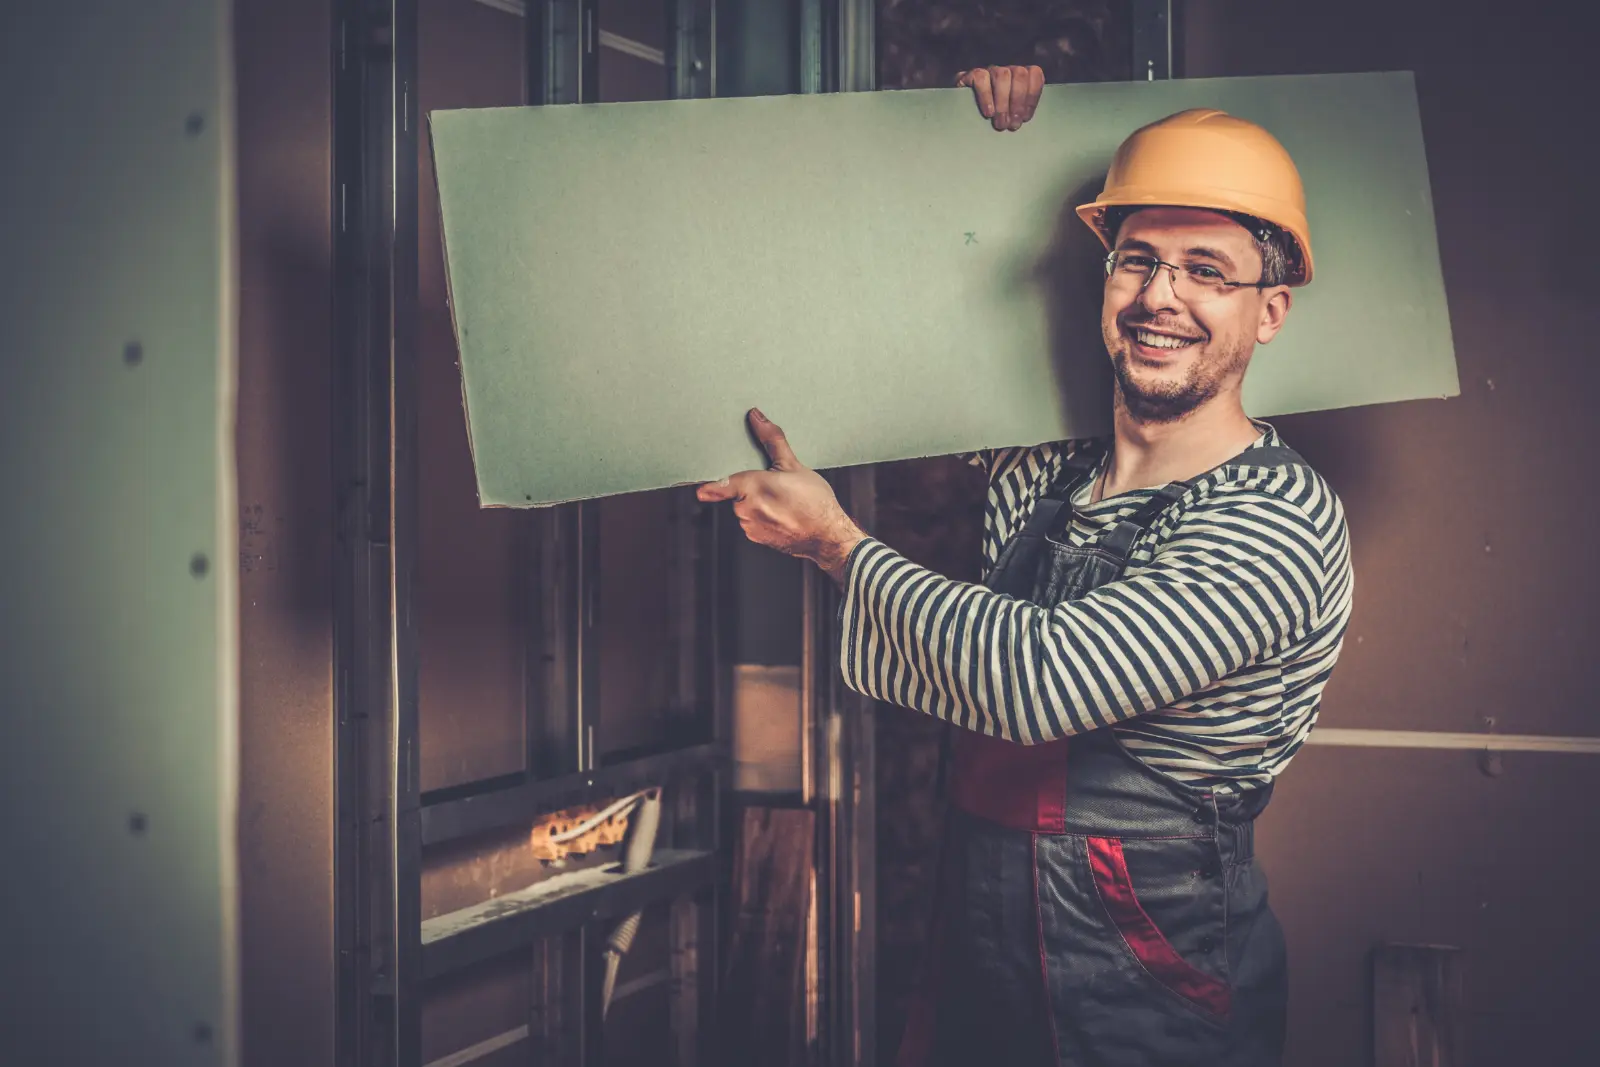
Having the right tools is essential to ensure a smooth and efficient drywall installation process. Proper tools not only make the job easier but also contribute to drywall installation safety and accurate cost estimation. Here are some of the essential tools you’ll need for a successful drywall installation project.
- Measuring Tape: Accurate measurements are crucial for estimating the amount of drywall needed and minimizing waste. A good quality measuring tape will help you achieve precise measurements.
- Utility Knife: A sharp utility knife is necessary for cutting drywall sheets to size. Make sure to use a new blade for clean and precise cuts.
- Drywall T-Square: A T-square is a handy tool that helps you make straight cuts and ensures accurate angles.
- Screw Gun: A screw gun is faster and more efficient than a regular drill for attaching drywall to studs. Look for one with adjustable depth settings to prevent overdriving the screws.
- Drywall Lift: A drywall lift is a valuable tool that helps you raise and hold drywall sheets in place, especially for ceiling installations. It reduces the risk of injury and makes the process much easier.
- Drywall Taping Tools: Invest in taping tools such as a mud pan, taping knives, and corner tools to achieve smooth and seamless joints.
- Safety Equipment: Don’t forget to prioritize safety by wearing goggles, gloves, and a dust mask to protect yourself from dust and debris during the installation process.
Preparing the Wall Surface
Before you start installing drywall, it’s important to prepare the wall surface properly.
Begin by conducting a thorough wall inspection checklist to identify any issues or repairs needed.
Once the inspection is complete, utilize effective surface cleaning techniques to ensure a smooth and clean wall for optimal drywall installation.
Wall Inspection Checklist
Ensure a thorough examination of the wall surface, checking for any imperfections or damage that may affect the installation process. Before you start hanging drywall, it’s crucial to inspect the wall to ensure a smooth and successful installation.
Look for any cracks, holes, or dents that may need to be repaired using drywall repair techniques. These imperfections can affect the overall finish and durability of your walls.
Additionally, check for any signs of moisture or water damage, as this may require a moisture barrier installation to prevent further issues.
Surface Cleaning Techniques
For a successful drywall installation, it’s important to properly clean and prepare the wall surface. Before starting, make sure to remove any stains on the wall using the appropriate stain removal methods. Whether it’s grease, oil, or crayon marks, there are different techniques available to tackle each type of stain.
Once the stains are taken care of, it’s time to focus on proper dust control. Dust can easily accumulate on the wall surface, affecting the adhesion of the drywall compound. To prevent this, use a damp cloth or sponge to wipe down the walls and remove any dust particles. Additionally, consider using a vacuum cleaner with a brush attachment to clean hard-to-reach areas.
These surface cleaning techniques will ensure a smooth and flawless drywall installation.
Measuring and Cutting Drywall Sheets
To measure and cut drywall sheets effectively, start by using a tape measure to accurately determine the dimensions of the area where the sheets will be installed. This step is crucial for achieving precise and seamless results in your drywall installation project. To ensure measuring accuracy, take multiple measurements of the length and width of the space and record the largest measurements to account for any irregularities.
Once you have the dimensions, it’s time to move on to cutting the drywall sheets. There are various cutting tools available, each with its own advantages and disadvantages. Here are some commonly used cutting tools for drywall installation:
| Cutting Tools | Description |
|---|---|
| Utility Knife | A versatile tool that allows for straight cuts and can be used for scoring. |
| Keyhole Saw | Ideal for making irregular cuts, such as around electrical outlets or pipes. |
| Jab Saw | Similar to a keyhole saw but with a pointed tip for easy plunge cutting. |
| Rotary Cutting Tool | Offers precision cutting and is useful for intricate or curved cuts. |
| Drywall T-Square | Ensures precise and straight cuts when used in conjunction with a utility knife or rotary cutting tool. |
Choosing the right cutting tool depends on the complexity of the cuts you need to make. Remember to prioritize safety by wearing protective gear, such as goggles and gloves, when using cutting tools.
Hanging Drywall Sheets
Now that you have measured and cut the drywall sheets, it’s time to hang them in place for your drywall installation project. Follow these drywall installation tips to ensure a smooth and successful process:
Start with the ceiling:
- Begin by hanging the drywall sheets on the ceiling.
- Use a drywall lift or enlist the help of a friend to hold the sheet in place while you secure it.
- Make sure the edges of the sheets are aligned with the center of the ceiling joists for maximum stability.
Secure the walls next:
- Once the ceiling is complete, move on to hanging the drywall sheets on the walls.
- Start from one corner and work your way across.
- Use screws or nails to secure the sheets to the studs, making sure to leave a small gap between each sheet for expansion.
Cut out openings as needed:
- As you hang the drywall sheets, you may come across areas that require openings for electrical outlets, switches, or windows.
- Use a keyhole saw or a drywall router to carefully cut out these openings, ensuring they’re precise and clean.
Remember these drywall installation tips as you go through the hanging process. Take your time and double-check your measurements to ensure a professional-looking finish. By following these steps, you’ll be one step closer to completing your drywall installation project with confidence and skill.
Taping and Finishing Drywall Seams
Now, let’s talk about the important points when it comes to taping and finishing drywall seams.
First, you’ll learn about seam preparation techniques to ensure a smooth and seamless finish.
Next, we’ll discuss the essential taping tools and materials you’ll need for this process.
Finally, we’ll share some finishing techniques and tips to help you achieve professional-looking results.
Seam Preparation Techniques
For optimal results in taping and finishing drywall seams, consider utilizing a possessive noun to enhance readability. Here are three essential seam preparation techniques to ensure a professional finish:
- Seam Repair Methods:
Before taping the seams, inspect the drywall for any visible cracks or damage. Use joint compound and a putty knife to fill in any gaps or imperfections. Smooth out the compound and let it dry completely before proceeding to the next step.
- Taping Techniques:
Apply a thin layer of joint compound along the seam using a taping knife. Then, embed the drywall tape into the compound, ensuring it’s centered on the seam. Use the taping knife to smooth out any bubbles or wrinkles. Allow the tape to dry before applying additional layers of compound.
- Seam Sanding Techniques:
Once the compound is completely dry, use sandpaper or a sanding sponge to smooth out the seams. Begin with coarse grit sandpaper and gradually switch to finer grits for a polished finish. Sand in a circular motion to blend the seams seamlessly with the surrounding drywall.
Taping Tools and Materials
To ensure a professional finish when taping and finishing drywall seams, it’s important to have the right taping tools and materials.
The key to a successful drywall taping job lies in using high-quality tools and materials.
One essential tool is the taping knife, which is used to apply joint compounds and smooth out the seams. It’s available in various sizes, so choose one that suits your needs.
Another important tool is the corner trowel, which helps create crisp and clean corners.
Additionally, you’ll need a mud pan to hold the joint compound and a joint tape to reinforce the seams.
Remember to use a good-quality joint compound and sandpaper to achieve a smooth and seamless finish.
Finishing Techniques and Tips
Achieve professional-looking drywall seams by utilizing proper finishing techniques and tips for taping and finishing. Here are three essential tips to help you achieve seamless results:
- Prepare the surface:
Before applying tape and joint compound, make sure the drywall seams are clean and free of dust or debris. Use a sanding block or sandpaper to smooth any rough edges or imperfections.
- Apply the tape:
Start by applying a thin layer of joint compound along the seam. Then, embed the tape into the compound, making sure it’s centered along the seam. Use a taping knife to press the tape firmly into place, removing any excess compound.
- Finish with texture:
After the joint compound has dried, you can apply texture to match the surrounding wall. Use a texture sprayer or a textured roller to create the desired texture pattern. Allow the texture to dry completely before painting or applying any final finishes.
Final Thoughts
Mastering drywall installation is crucial for achieving a flawless finish.
By following the essential tips and techniques outlined in this article, you can ensure a professional-looking result.
Remember, practice makes perfect, so don’t be discouraged if it takes some time to get the hang of it.
With a little elbow grease and attention to detail, you’ll be hanging drywall like a pro in no time, turning your walls into a blank canvas ready for your personal touch.