Table of Contents
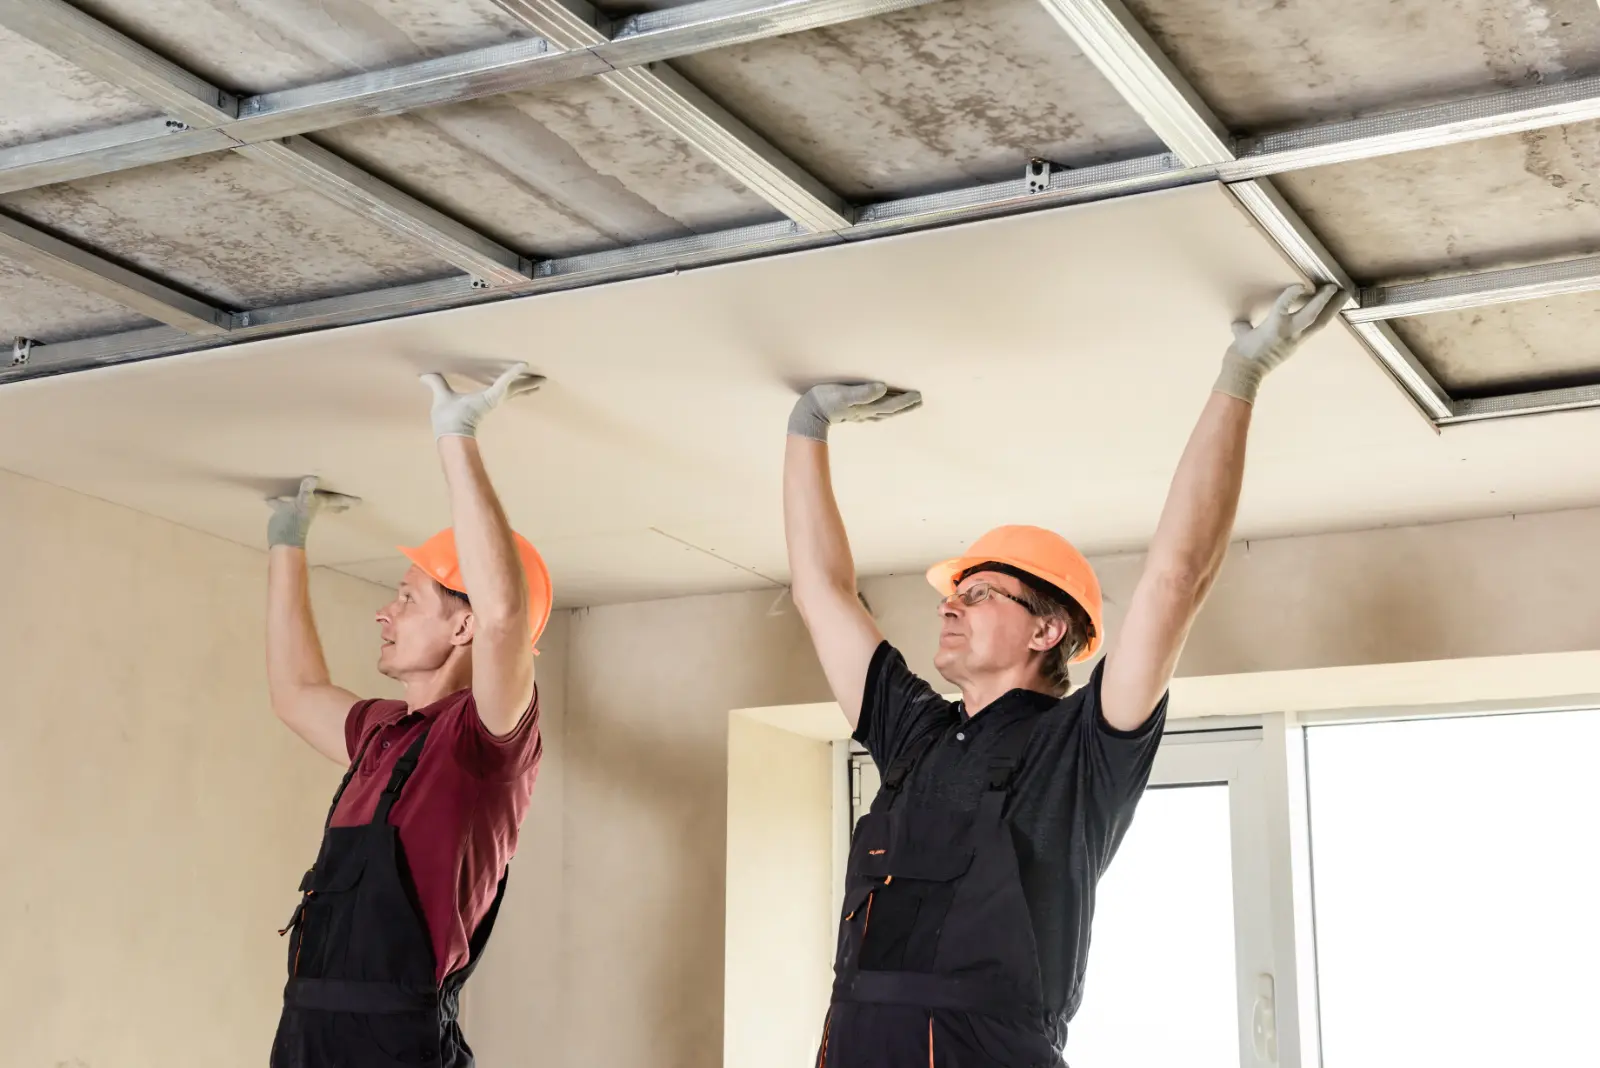
When it comes to the art of drywall installation, there are a few strategies that can help you shave off precious minutes from your project. These time-saving techniques are like secret weapons in your arsenal, allowing you to work efficiently and effectively.
From measuring and cutting with precision to optimizing material handling, streamlining joint taping, and speeding up fastening techniques, there’s a lot to explore.
But that’s not all; there are also some handy time-saving tools that can make your job a whole lot easier.
So, if you’re ready to take your drywall installation skills to the next level, keep reading to discover these game-changing techniques.
Drywall Installation – Key Takeaways
- Efficient measurement and cutting techniques are essential for precise cuts and waste reduction.
- Proper material handling and organization can help streamline the workflow and minimize waste.
- Utilizing automated taping machines and learning proper joint compound application techniques can speed up the joint taping process.
- Investing in time-saving tools such as drywall lifts, power screwdrivers, and drywall routers can significantly reduce installation time and improve efficiency.
Measure and Cut Efficiently
To measure and cut efficiently during drywall installation, use a tape measure and a utility knife. These tools are essential for achieving precision cutting and minimizing waste. As a contractor, you understand the importance of completing projects efficiently while maintaining high-quality standards. By following these techniques, you can ensure that your drywall installation is both accurate and cost-effective.
Start by measuring the dimensions of the area where the drywall will be installed. Take accurate measurements using a tape measure, ensuring that you account for any corners, angles, or irregularities. This step is crucial for achieving precise cuts and avoiding unnecessary waste. Remember, accuracy is key to a professional finish.
Once you have measured the dimensions, mark the drywall accordingly. Use a pencil to mark the areas where you need to make cuts, ensuring that your lines are clear and visible. This step will guide you in making accurate cuts and minimizing errors. Take your time to double-check the markings before proceeding to cut.
When cutting the drywall, use a sharp utility knife. Hold the knife firmly and apply pressure as you make your cuts along the marked lines. Take care to cut through the drywall without damaging the surrounding areas. As you progress, use the tape measure to confirm the accuracy of your cuts and make any necessary adjustments.
Optimize Material Handling
Maximize efficiency and minimize waste by implementing effective material handling techniques during drywall installation. Improving workspace organization and reducing material waste are essential for contractors looking to streamline their processes and enhance productivity. Here are four key strategies to optimize material handling:
- Plan ahead: Before starting any project, take the time to plan and organize the workspace. Identify the most efficient layout for materials, tools, and equipment. This will help minimize unnecessary movements and ensure easy access to everything you need.
- Utilize storage systems: Invest in quality storage systems that allow you to store and organize materials efficiently. Shelving units, bins, and racks can help keep everything tidy and easily accessible. Consider labeling systems to further enhance organization and reduce time spent searching for specific items.
- Implement a just-in-time delivery system: Rather than stockpiling excessive amounts of drywall, consider implementing a just-in-time delivery system. This means ordering materials as needed, reducing the risk of damage or waste caused by storing large quantities. Coordinate with suppliers to ensure timely deliveries to keep your project running smoothly.
- Minimize material waste: Properly handling and storing drywall can significantly reduce material waste. Store drywall sheets in a vertical position to prevent warping and damage. Use protective coverings to keep them clean and free from moisture. Additionally, carefully measure and plan your cuts to minimize waste and optimize material usage.
Streamline Joint Taping Process
After optimizing material handling techniques, you can now focus on streamlining the joint taping process to ensure a smooth and efficient drywall installation. One way to achieve this is by utilizing automated taping machines. These machines can greatly speed up the taping process, reducing the time and effort required. With automated taping machines, you can apply joint compound quickly and evenly, resulting in a professional finish.
When using automated taping machines, it’s important to learn and master the proper joint compound application techniques. This will ensure that the compound adheres well to the joints and creates a seamless finish. Start by loading the joint compound into the machine’s hopper, making sure it’s at the right consistency for easy application. Then, position the machine’s nozzle over the joint and begin applying the compound in a smooth, continuous motion. Move the machine along the joint, applying an even layer of compound.
To further streamline the process, consider using a corner roller attachment for the automated taping machine. This attachment allows for easy application of compound in corners, saving you time and effort. Additionally, using a flat box attachment can help apply compound to larger areas, such as walls and ceilings, quickly and efficiently.
Speed up Fastening Techniques
Consider implementing efficient fastening techniques to expedite the drywall installation process. By incorporating these time-saving methods, you can complete projects more quickly and efficiently, allowing you to take on more jobs and increase your productivity.
Here are four effective ways to speed up your fastening techniques:
- Utilize quick-drying compounds: When fastening drywall, using quick-drying compounds can significantly reduce the overall installation time. These compounds have a shorter drying time compared to traditional joint compounds, allowing you to move on to the next step sooner. This means you can complete the installation process faster and move on to other tasks.
- Opt for prefabricated drywall panels: Prefabricated drywall panels are pre-cut and ready to install, eliminating the need for time-consuming measurements and cutting. By using these panels, you can save a significant amount of time during the fastening process. Additionally, prefabricated panels often come with pre-drilled holes for faster and more precise fastening.
- Invest in a high-quality screw gun: A high-quality screw gun can make a world of difference when it comes to fastening drywall. Look for a screw gun with adjustable speed and depth settings, as well as a comfortable grip. These features will allow you to work quickly and efficiently, ensuring secure and tight fastening.
- Implement efficient fastening techniques: Using efficient fastening techniques, such as using the right size screws, spacing them appropriately, and applying the right amount of pressure, can greatly speed up the installation process. Take the time to learn and practice these techniques to maximize your efficiency and reduce the time spent on each fastening task.
Utilize Time-Saving Tools
To expedite the drywall installation process, you can save valuable time by utilizing a range of time-saving tools. These tools not only help you work more efficiently but also ensure safety and make clean-up easier.
One essential time-saving tool is the drywall lift. This handy device eliminates the need for manual lifting and holding of heavy drywall sheets, allowing you to position them accurately and quickly. With a drywall lift, you can save significant amounts of time and effort, reducing the risk of injury and strain on your body.
Another tool that can save you time is a power screwdriver. By using a power screwdriver instead of a manual one, you can drive screws into the drywall at a much faster pace. This not only speeds up the installation process but also reduces fatigue, allowing you to work for longer periods without getting tired.
Furthermore, using a drywall router can save you time when cutting holes for electrical outlets and switches. This tool ensures precise cuts, eliminating the need for manual measuring and marking. With a drywall router, you can quickly and accurately create openings, saving you valuable time and effort.
When using these time-saving tools, it’s crucial to follow safety precautions to prevent accidents and injuries. Always wear appropriate protective gear, such as gloves and goggles, and make sure to handle the tools properly.
Lastly, efficient clean-up methods can also save you time. Use a drywall vacuum or a dust collection system to quickly and effectively remove dust and debris from the workspace. This not only saves time but also helps create a cleaner and safer environment.
Incorporating these time-saving tools into your drywall installation process won’t only save you valuable time but also improve efficiency and ensure safety. By investing in the right tools and following proper safety precautions, you can streamline your workflow and achieve high-quality results in less time.
Summary
By implementing these time-saving techniques, contractors can drastically improve their efficiency and productivity in drywall installation.
Like a well-oiled machine, they can measure and cut efficiently, optimize material handling, streamline joint taping, speed up fastening techniques, and utilize time-saving tools.
Ultimately, these strategies will help them complete projects with precision and finesse, much like a conductor leading an orchestra to symphonic perfection.